
Install & sign in
Dazo is available on iPhone, Android, macOS and Windows. Use the same email and password across every platform — your records and storage mode follow you automatically.
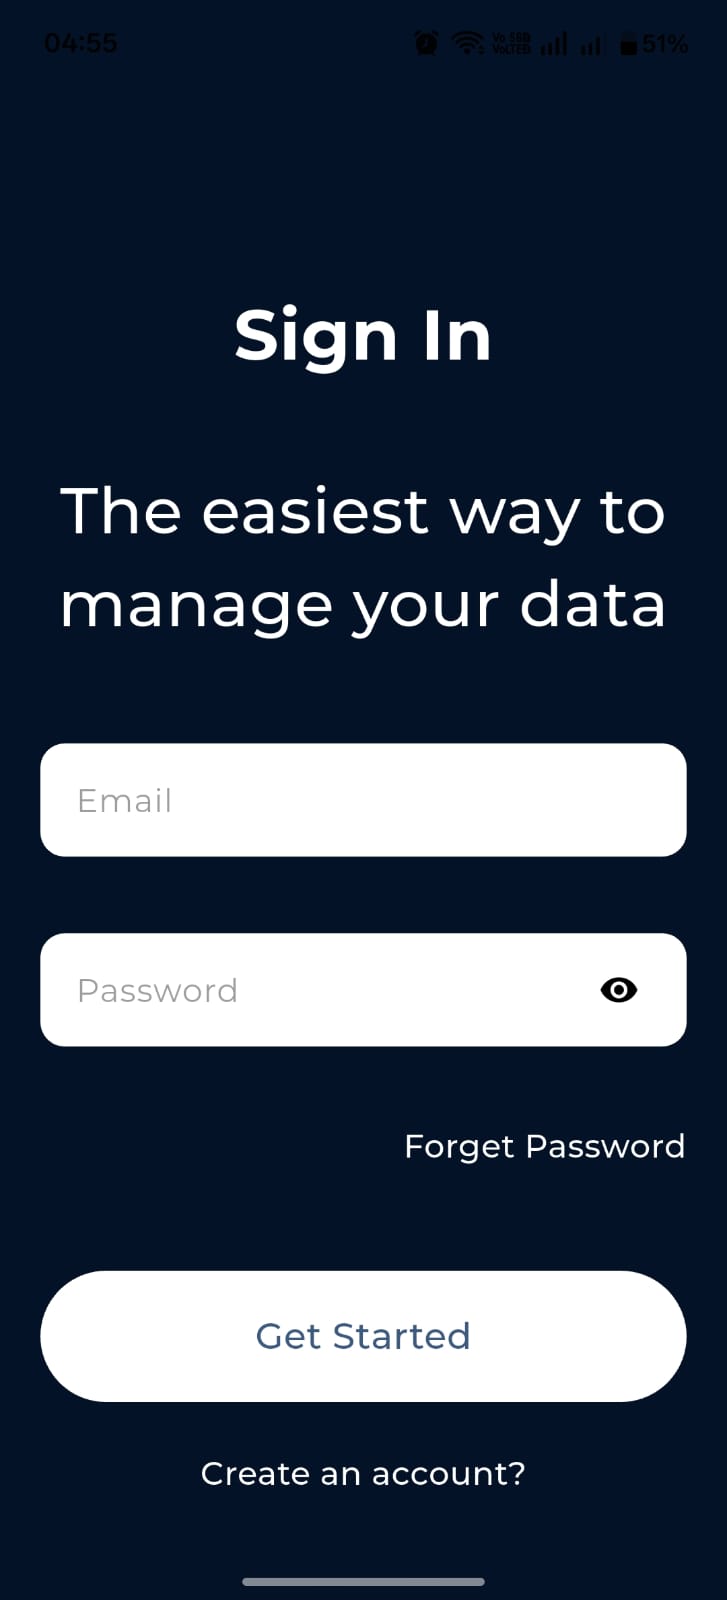
Mobile sign in
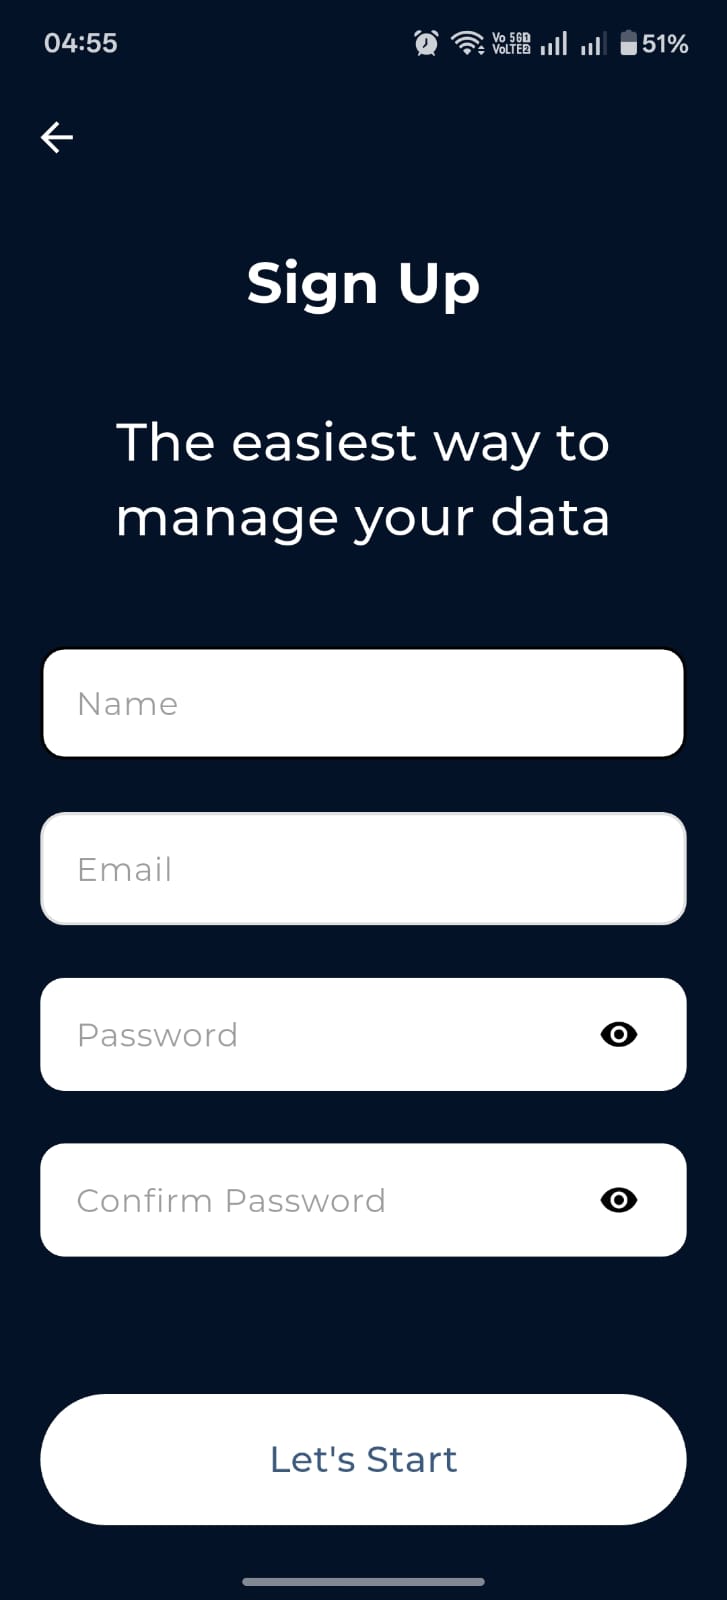
Mobile sign up
Desktop login
- Download Dazo from the App Store, Google Play, or the macOS/Windows installer.
- Tap Create an account to register, or Sign In if you already have one.
- Verify your email if prompted, then sign in.
Pick a storage mode
On first launch, Dazo asks where you want your data to live. You can change this any time from Settings.
- Cloud — files live in Firebase Storage and are mirrored across every device you sign into.
- Local / Device — files stay on the device you uploaded them from. Nothing leaves until you say so.
Either mode keeps an offline cache on mobile so your last-seen records and folders remain usable when the network drops. Desktop additionally supports an offline switch that reads from a selected sync folder.
The four use cases
Every record in Dazo belongs to one of four use-case types. Pick the one that fits the work — each type has its own fields and behavior.
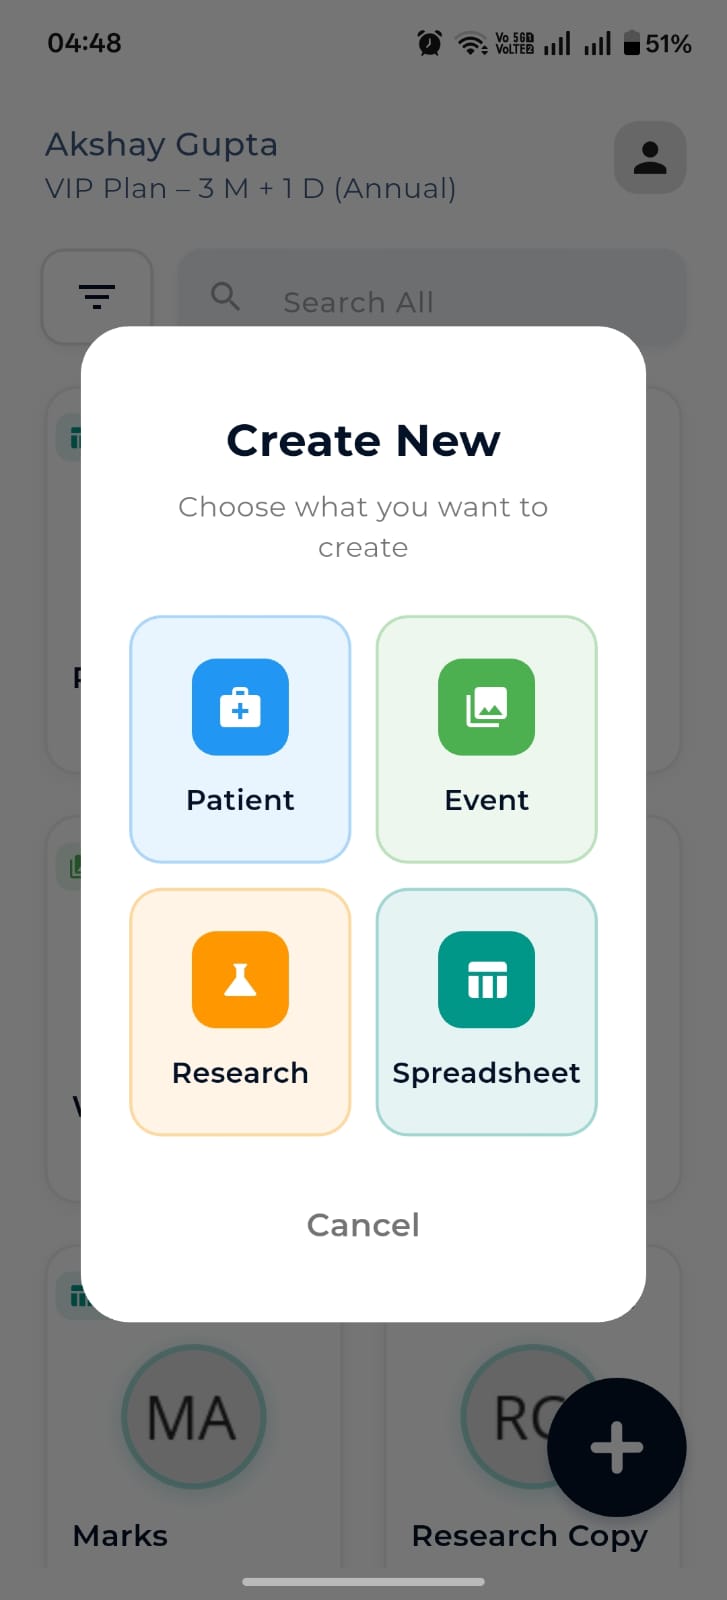
Mobile — Create New
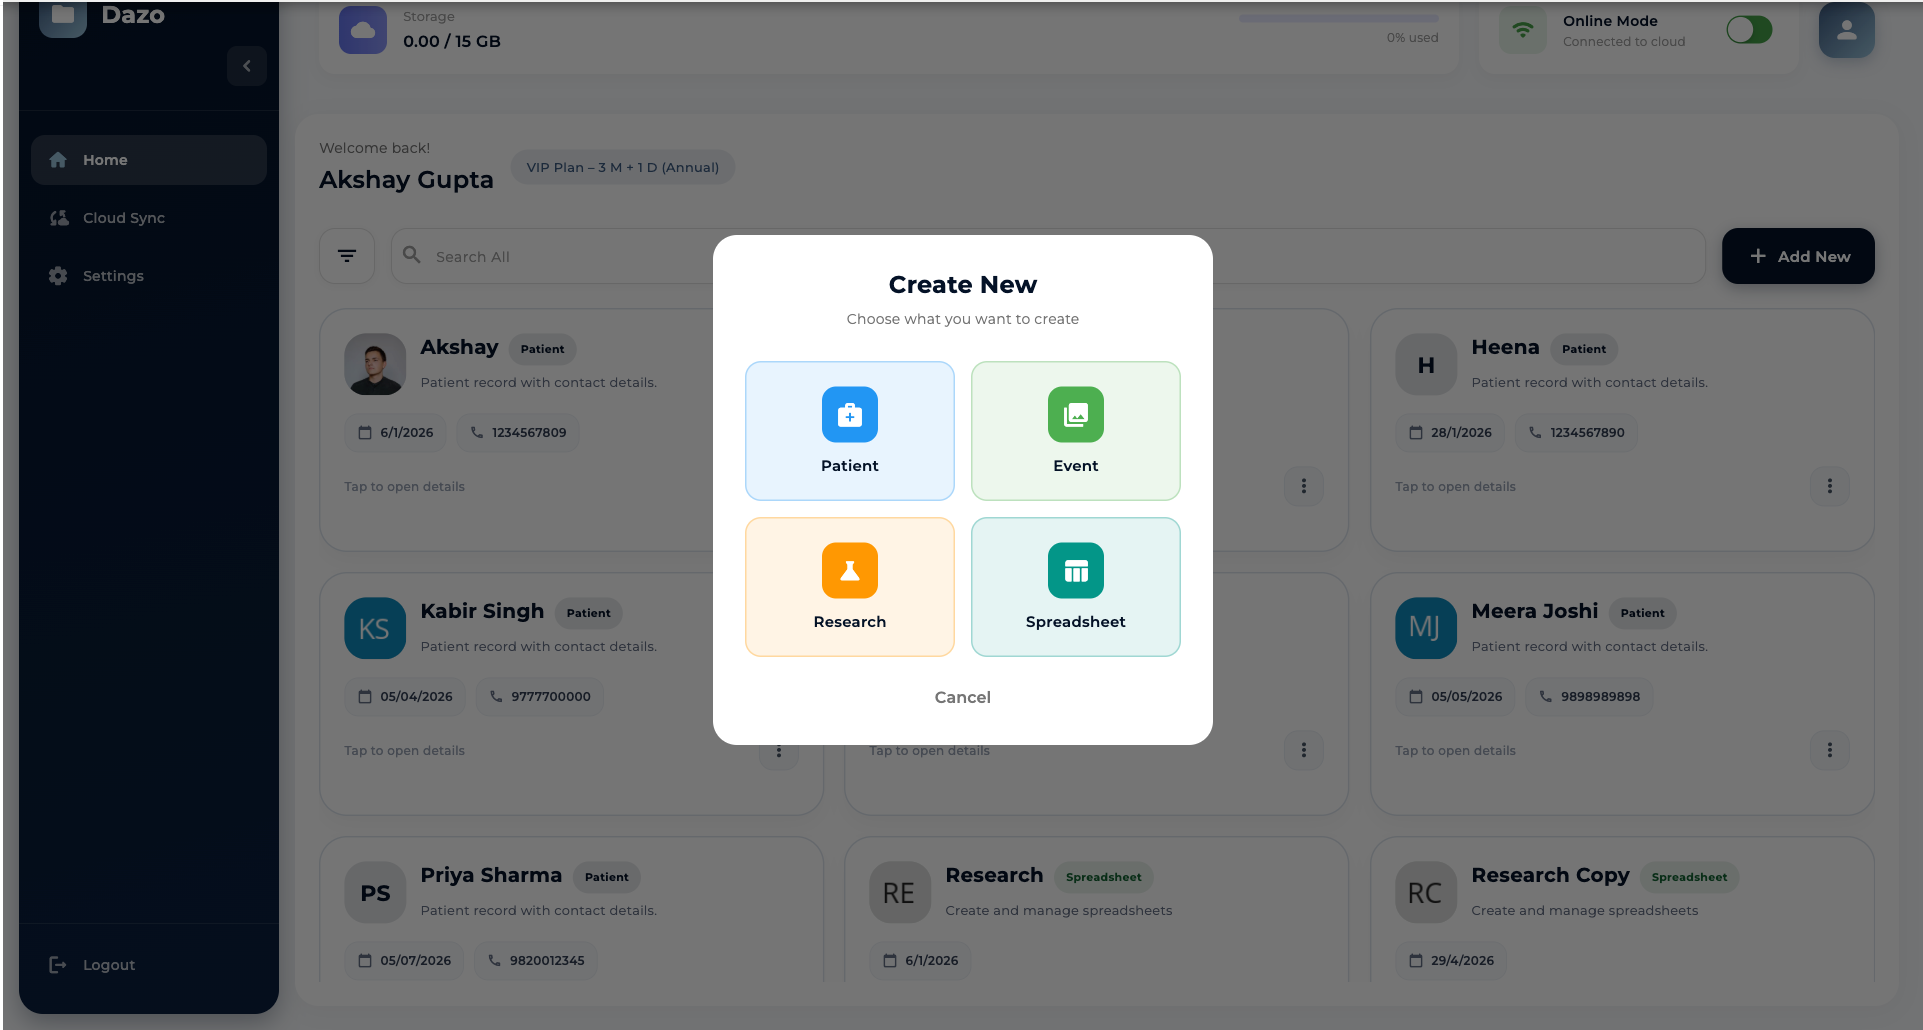
Desktop — Create New
Patient
For clinical or service workflows. Captures patient name, phone, age, sex, disease, registration date, avatar, category and custom fields. Each patient becomes a folder that you can drill into and add subfolders, files, audio recordings and more.
Event
For occasions — weddings, shoots, trips, family albums. Captures event name, an optional description, the event date, and a cover image.
Research
A lightweight research folder. Just a title and a date. Drop in anything: PDFs, scans, images, notes, audio, video.
Spreadsheet
For structured data. Give the sheet a title, define your own columns (text, number, or image), and start filling rows. Image cells let you attach photos directly inside the table.
Mobile guide
Dazo on iPhone and Android is the full app — capture, organize, search and sync. The screenshots in this section come straight from the live app.
Home grid
The home grid shows every record you own — patients, events, research and spreadsheets — color-coded by use case. The top of the screen displays your account name and current plan; the floating + opens the Create New picker.
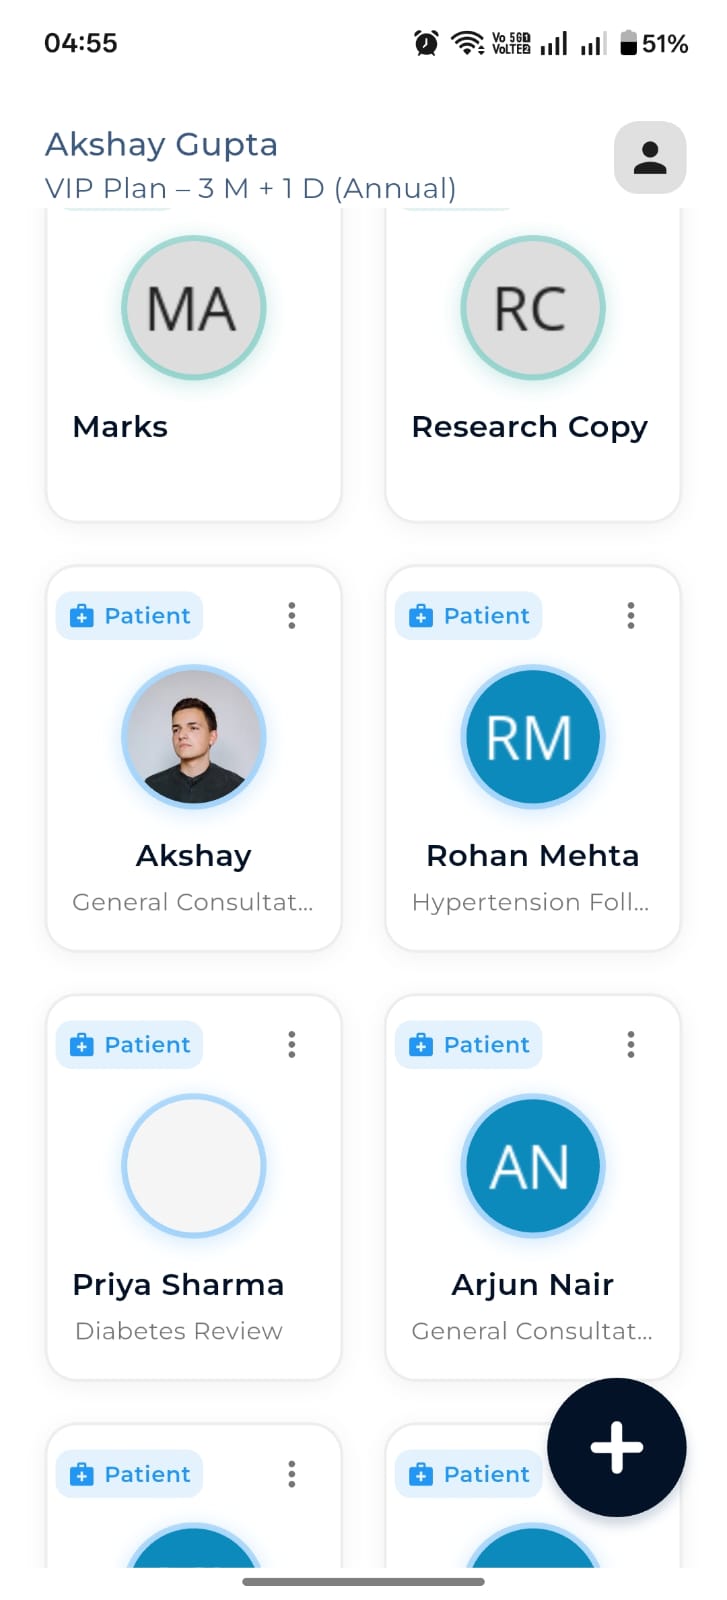
Home grid with VIP plan visible
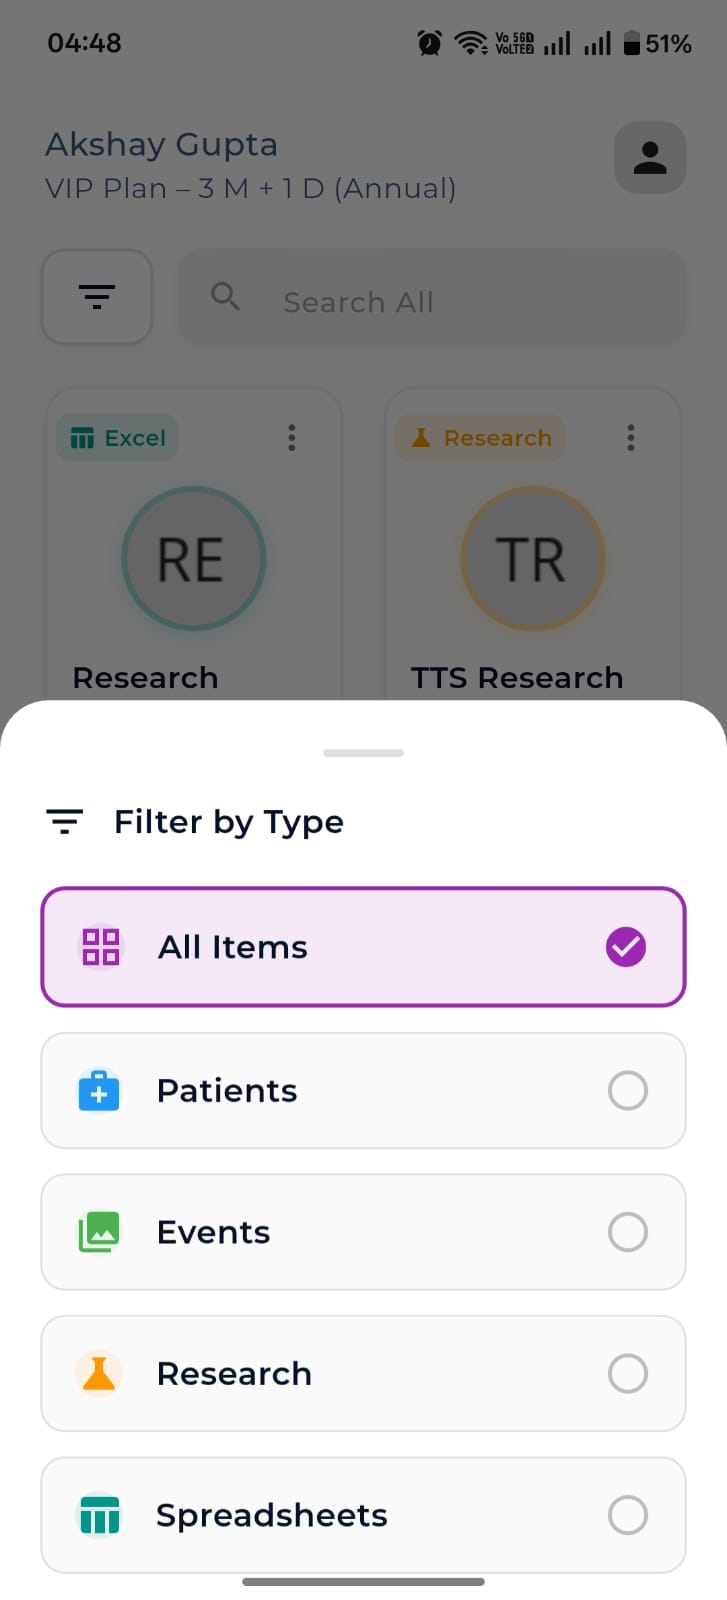
Filter by Patients / Events / Research / Spreadsheets
- Use Search All to find any record across types.
- Tap the funnel icon to open Filter by Type and narrow the grid.
- Tap a card to open that record. Long-press for quick actions.
Create a record
Tap the floating + on Home and pick a type. Each option opens a tailored Add screen.
Create New picker
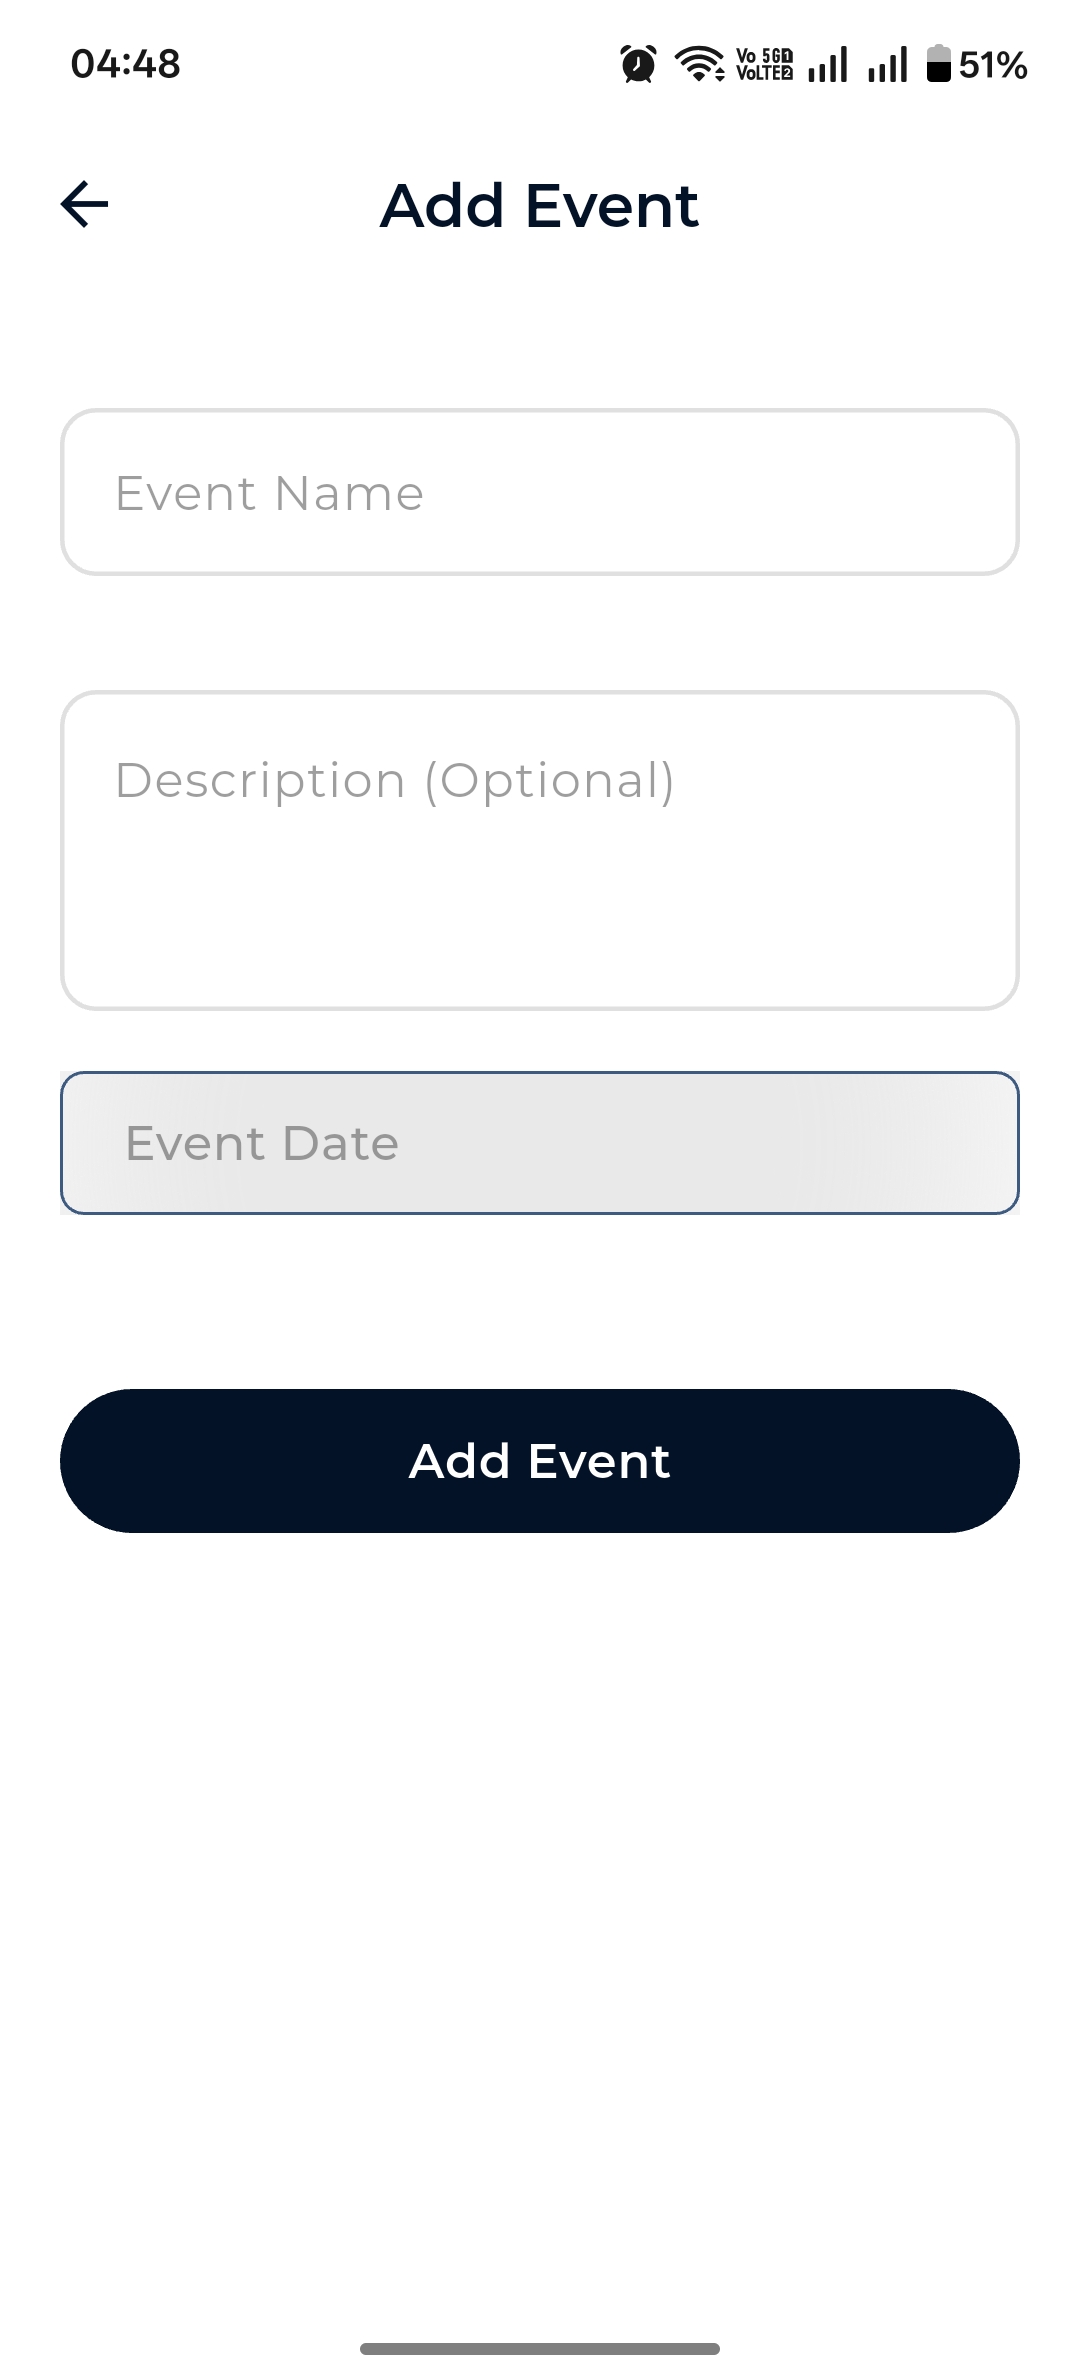
Add Event — name, description, date
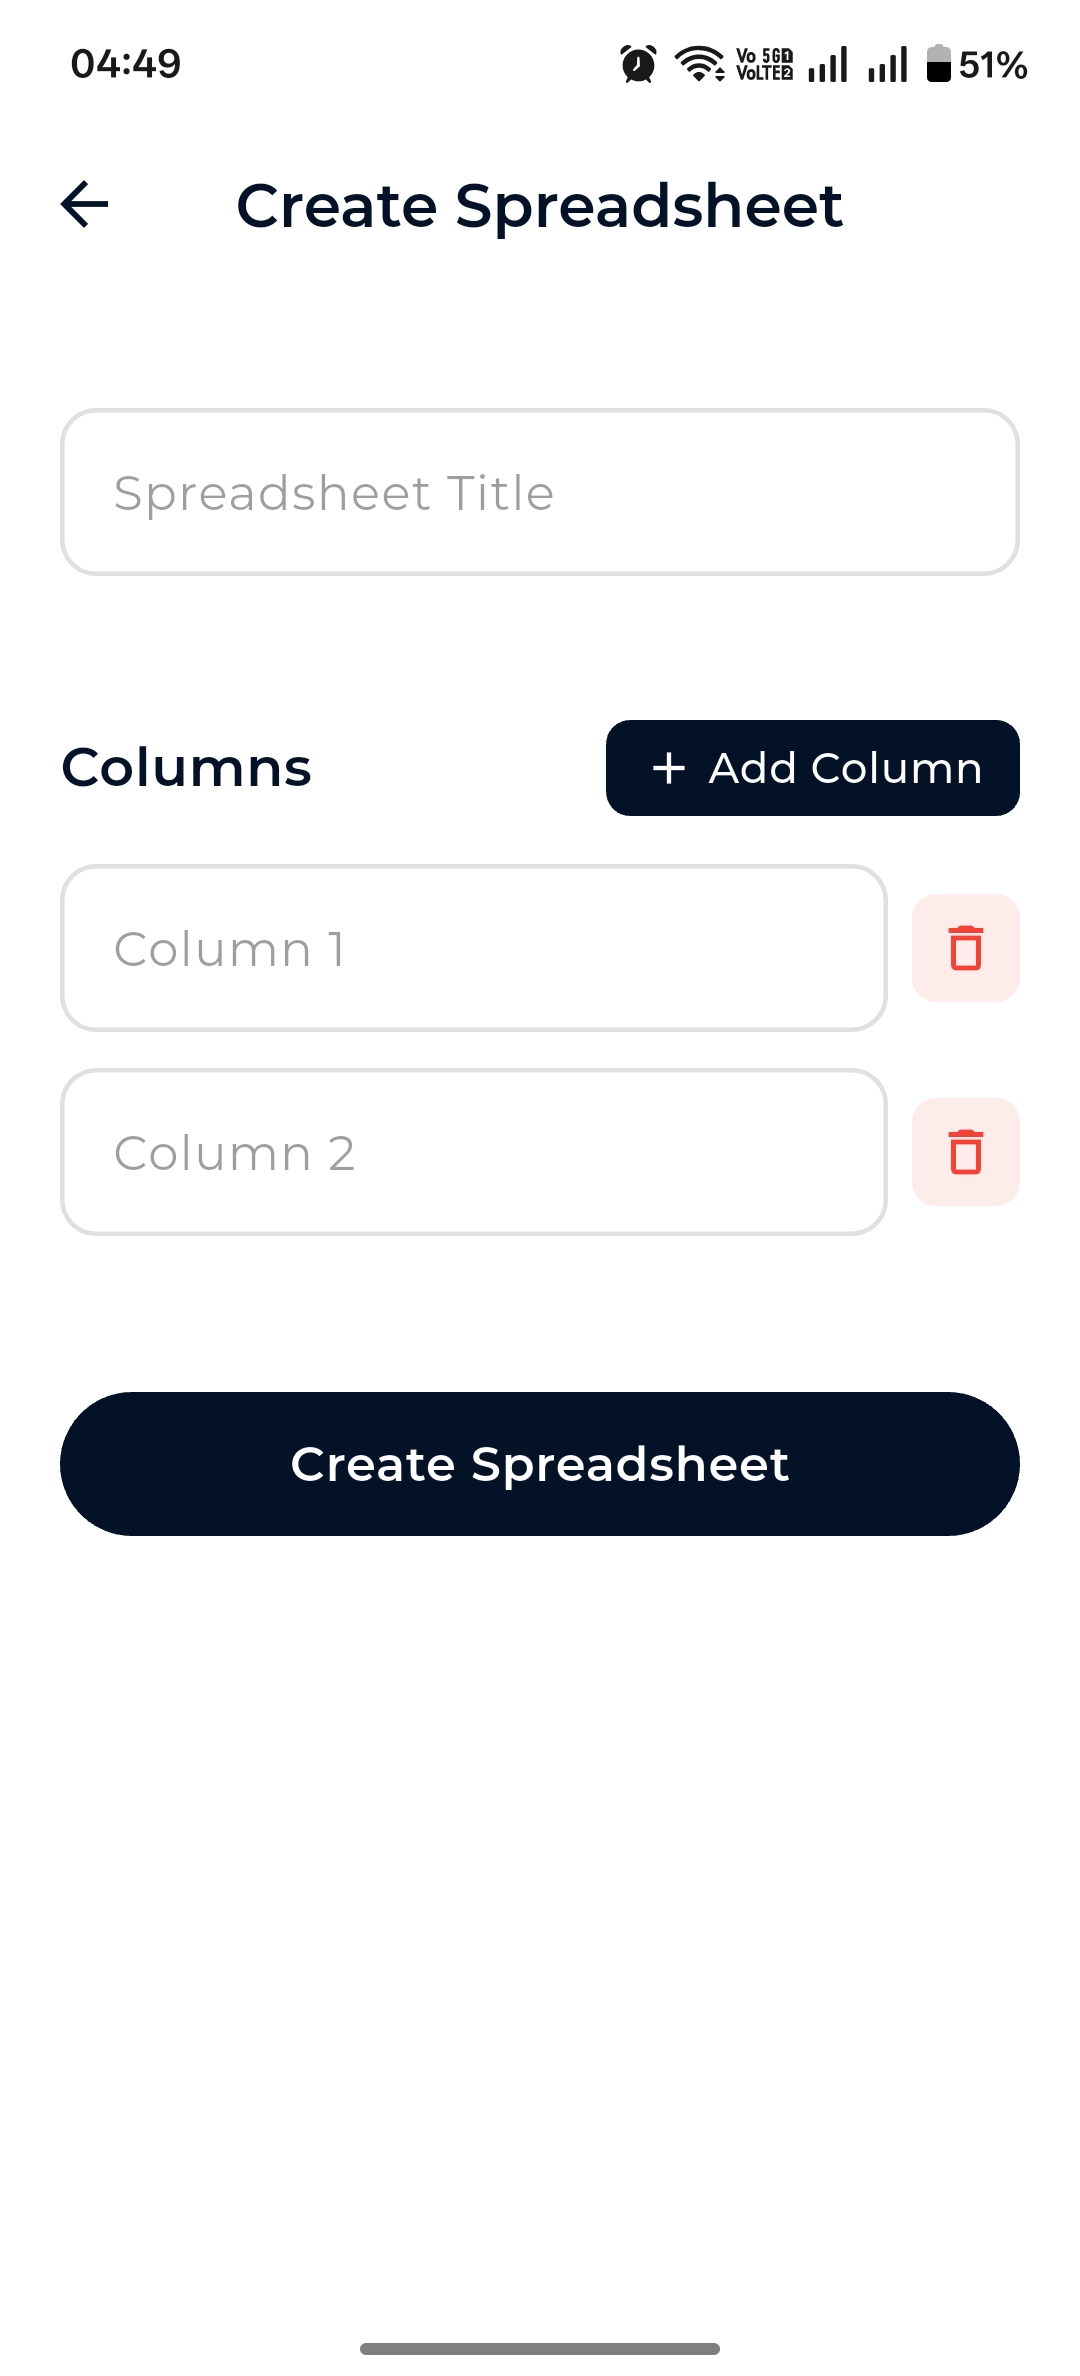
Create Spreadsheet — title + columns
Folders & subfolders
Inside any record, build out a folder tree. Tap Create New Folder at the top, name it, pick a registration date and an optional tag color.
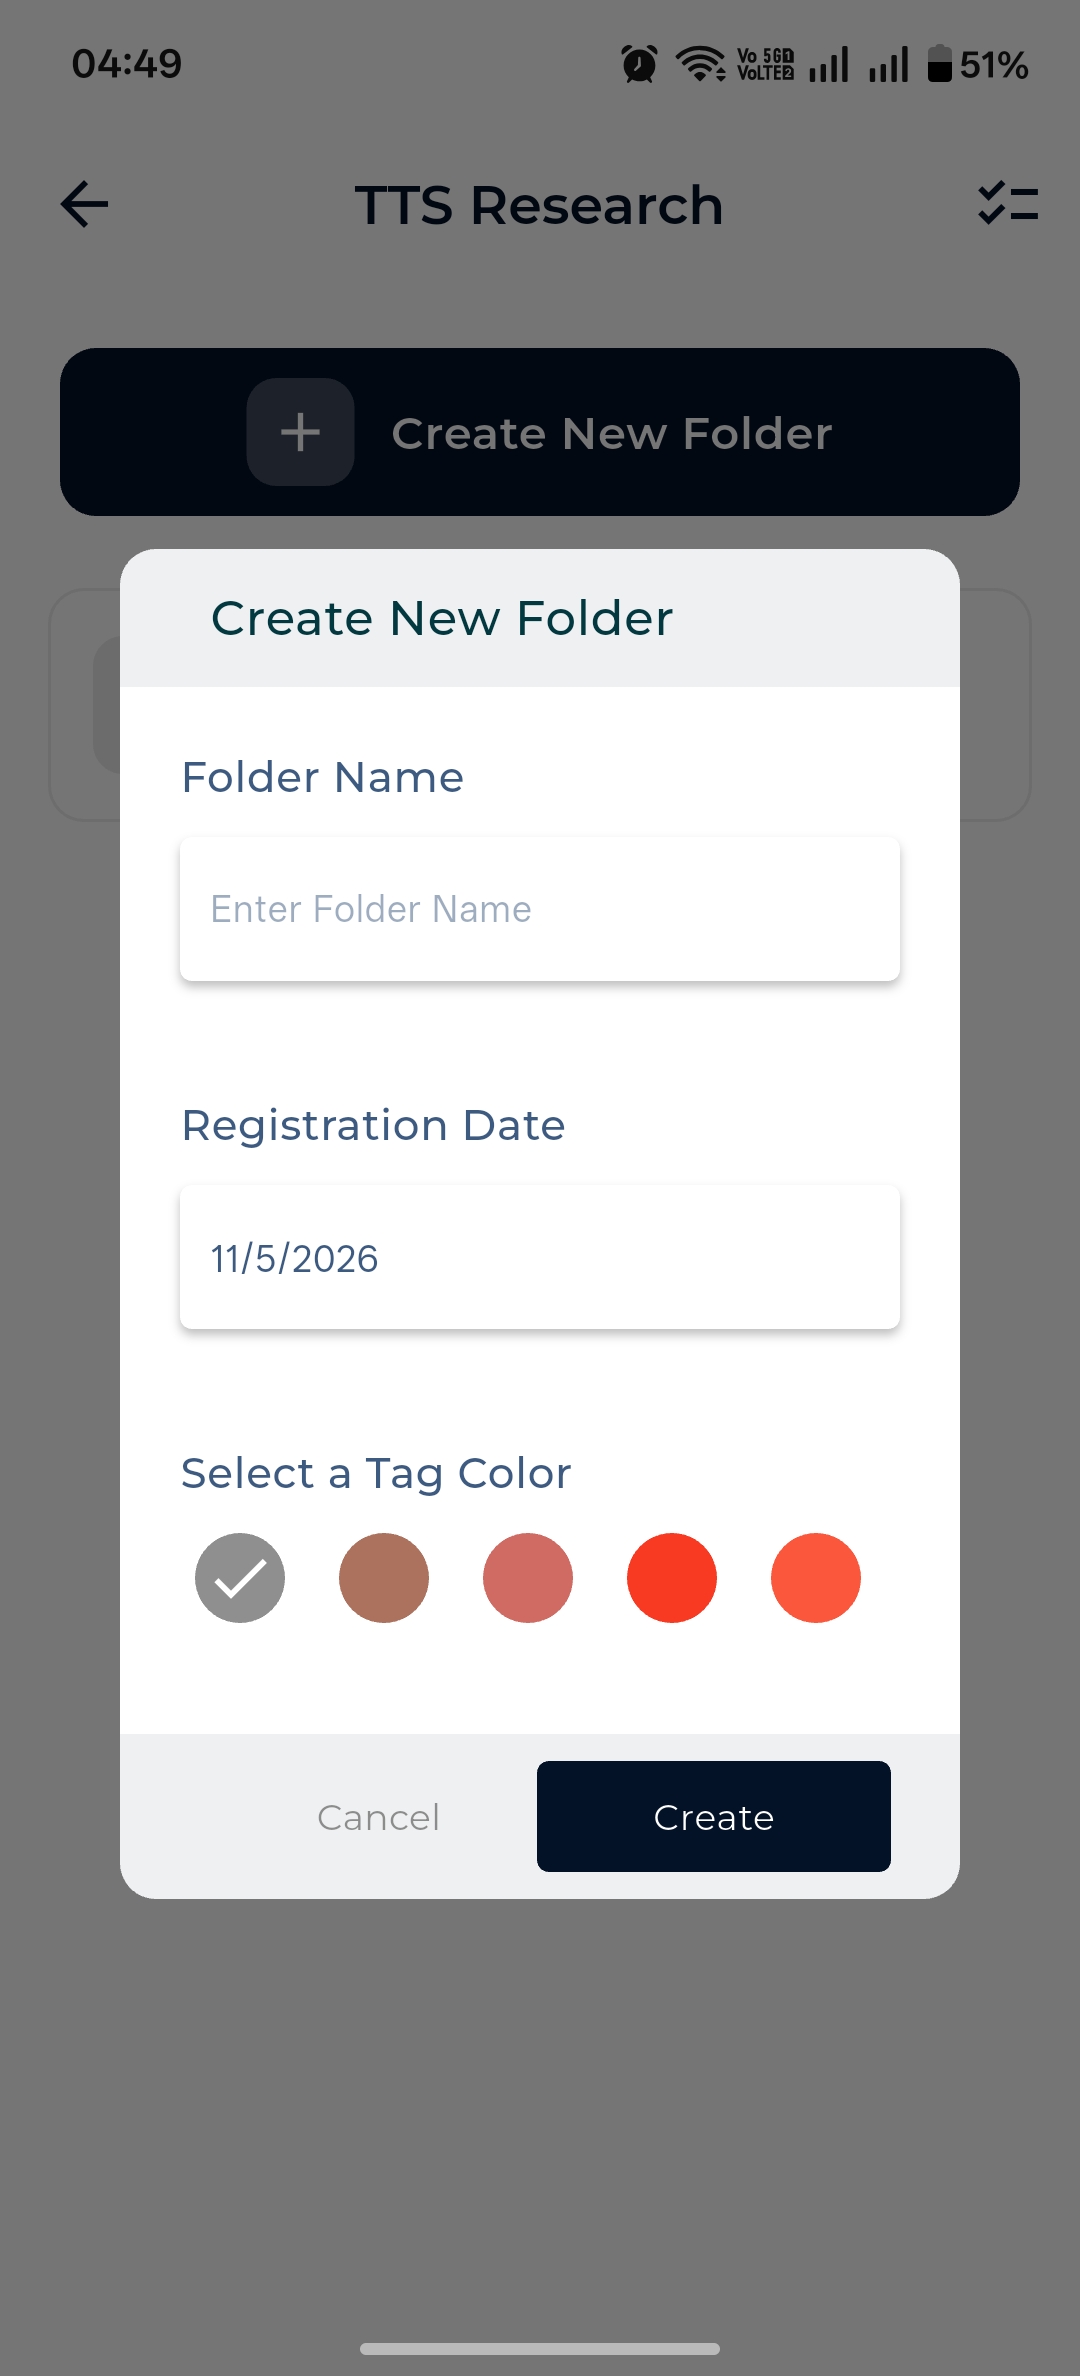
Create Folder dialog with tag color
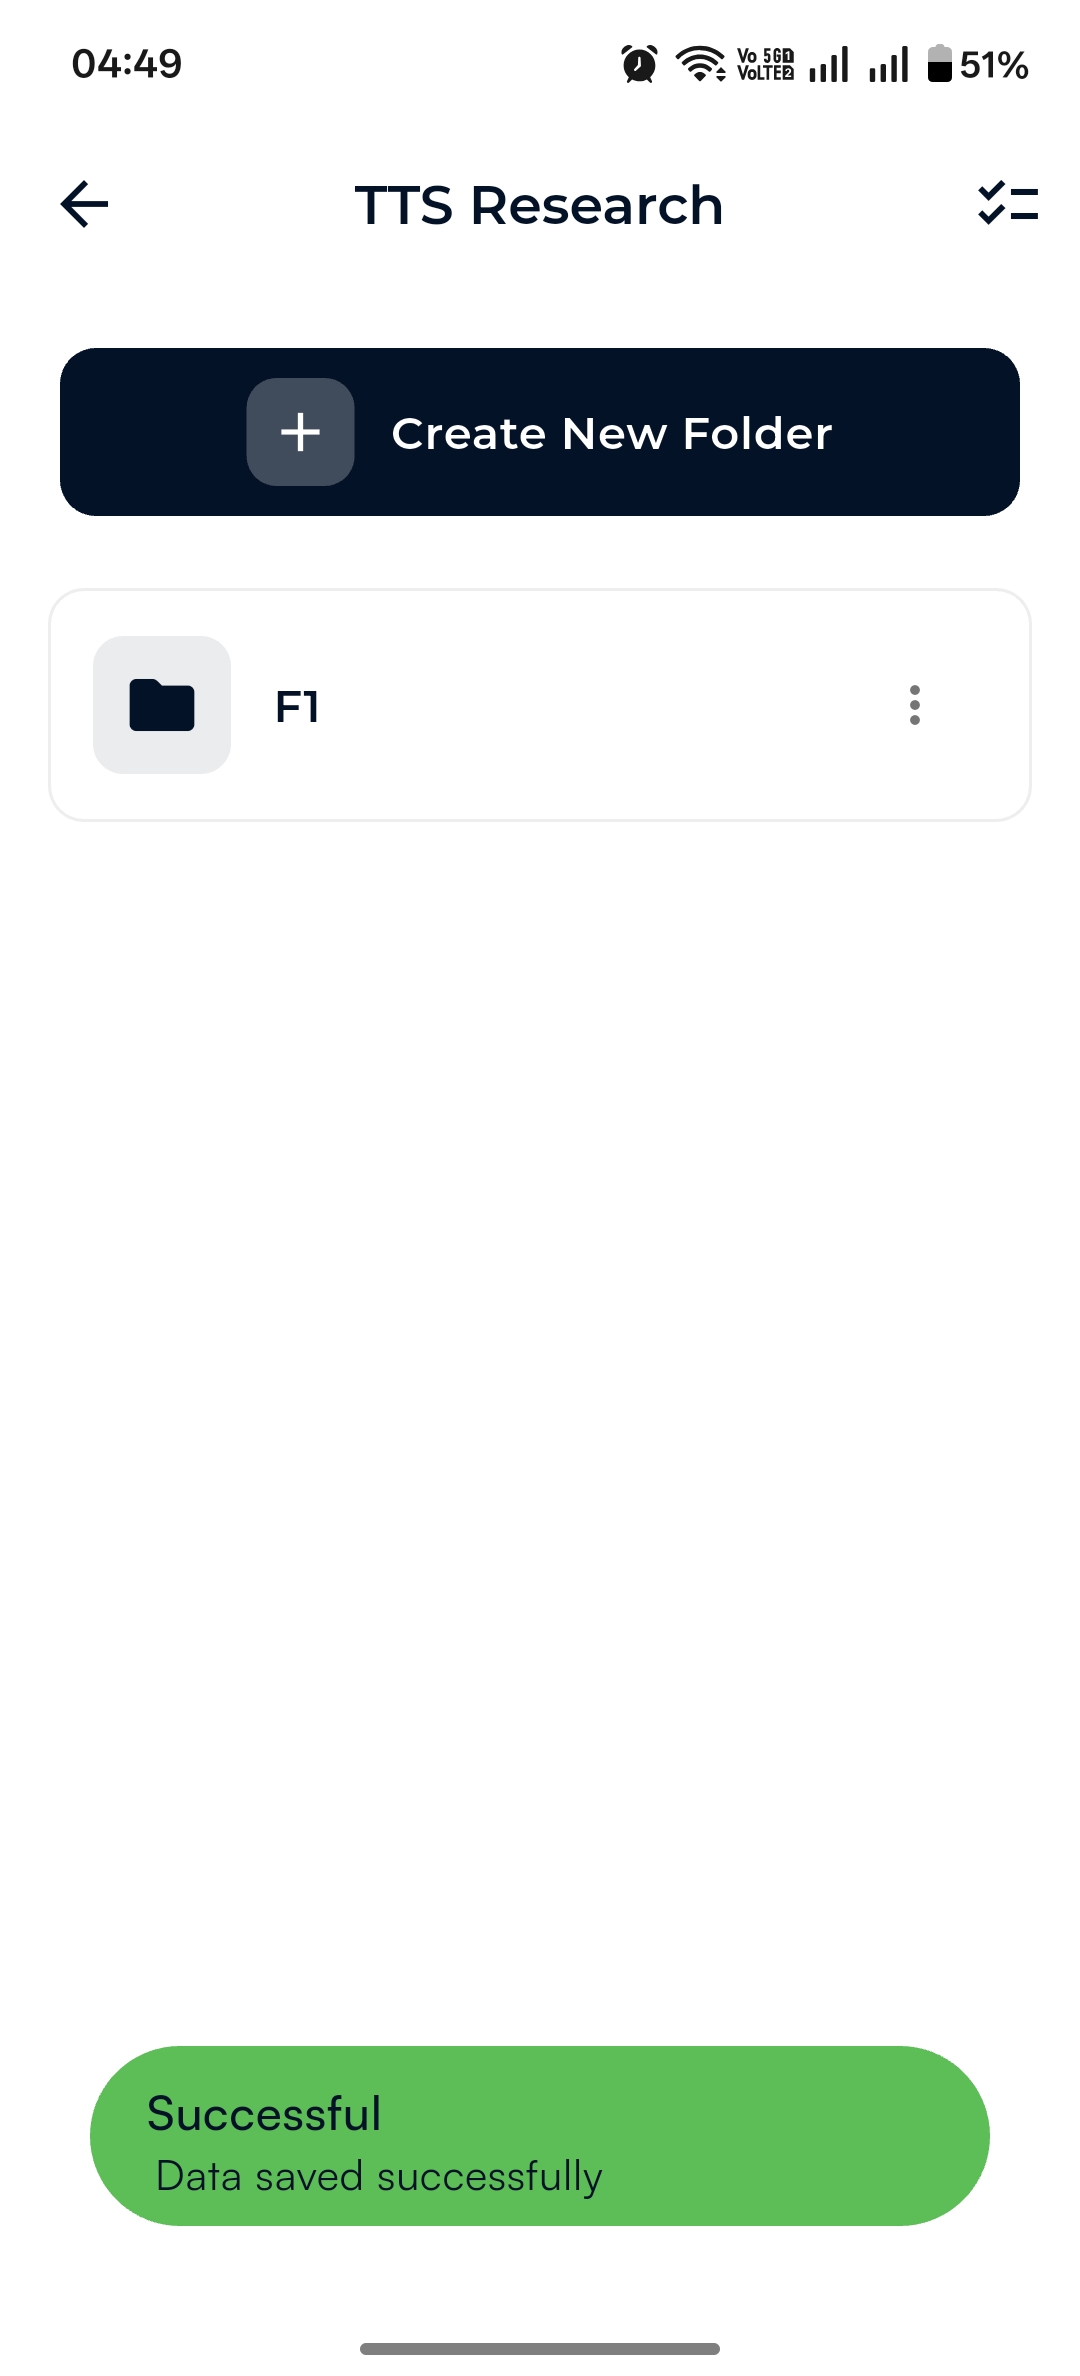
Folder list with success toast
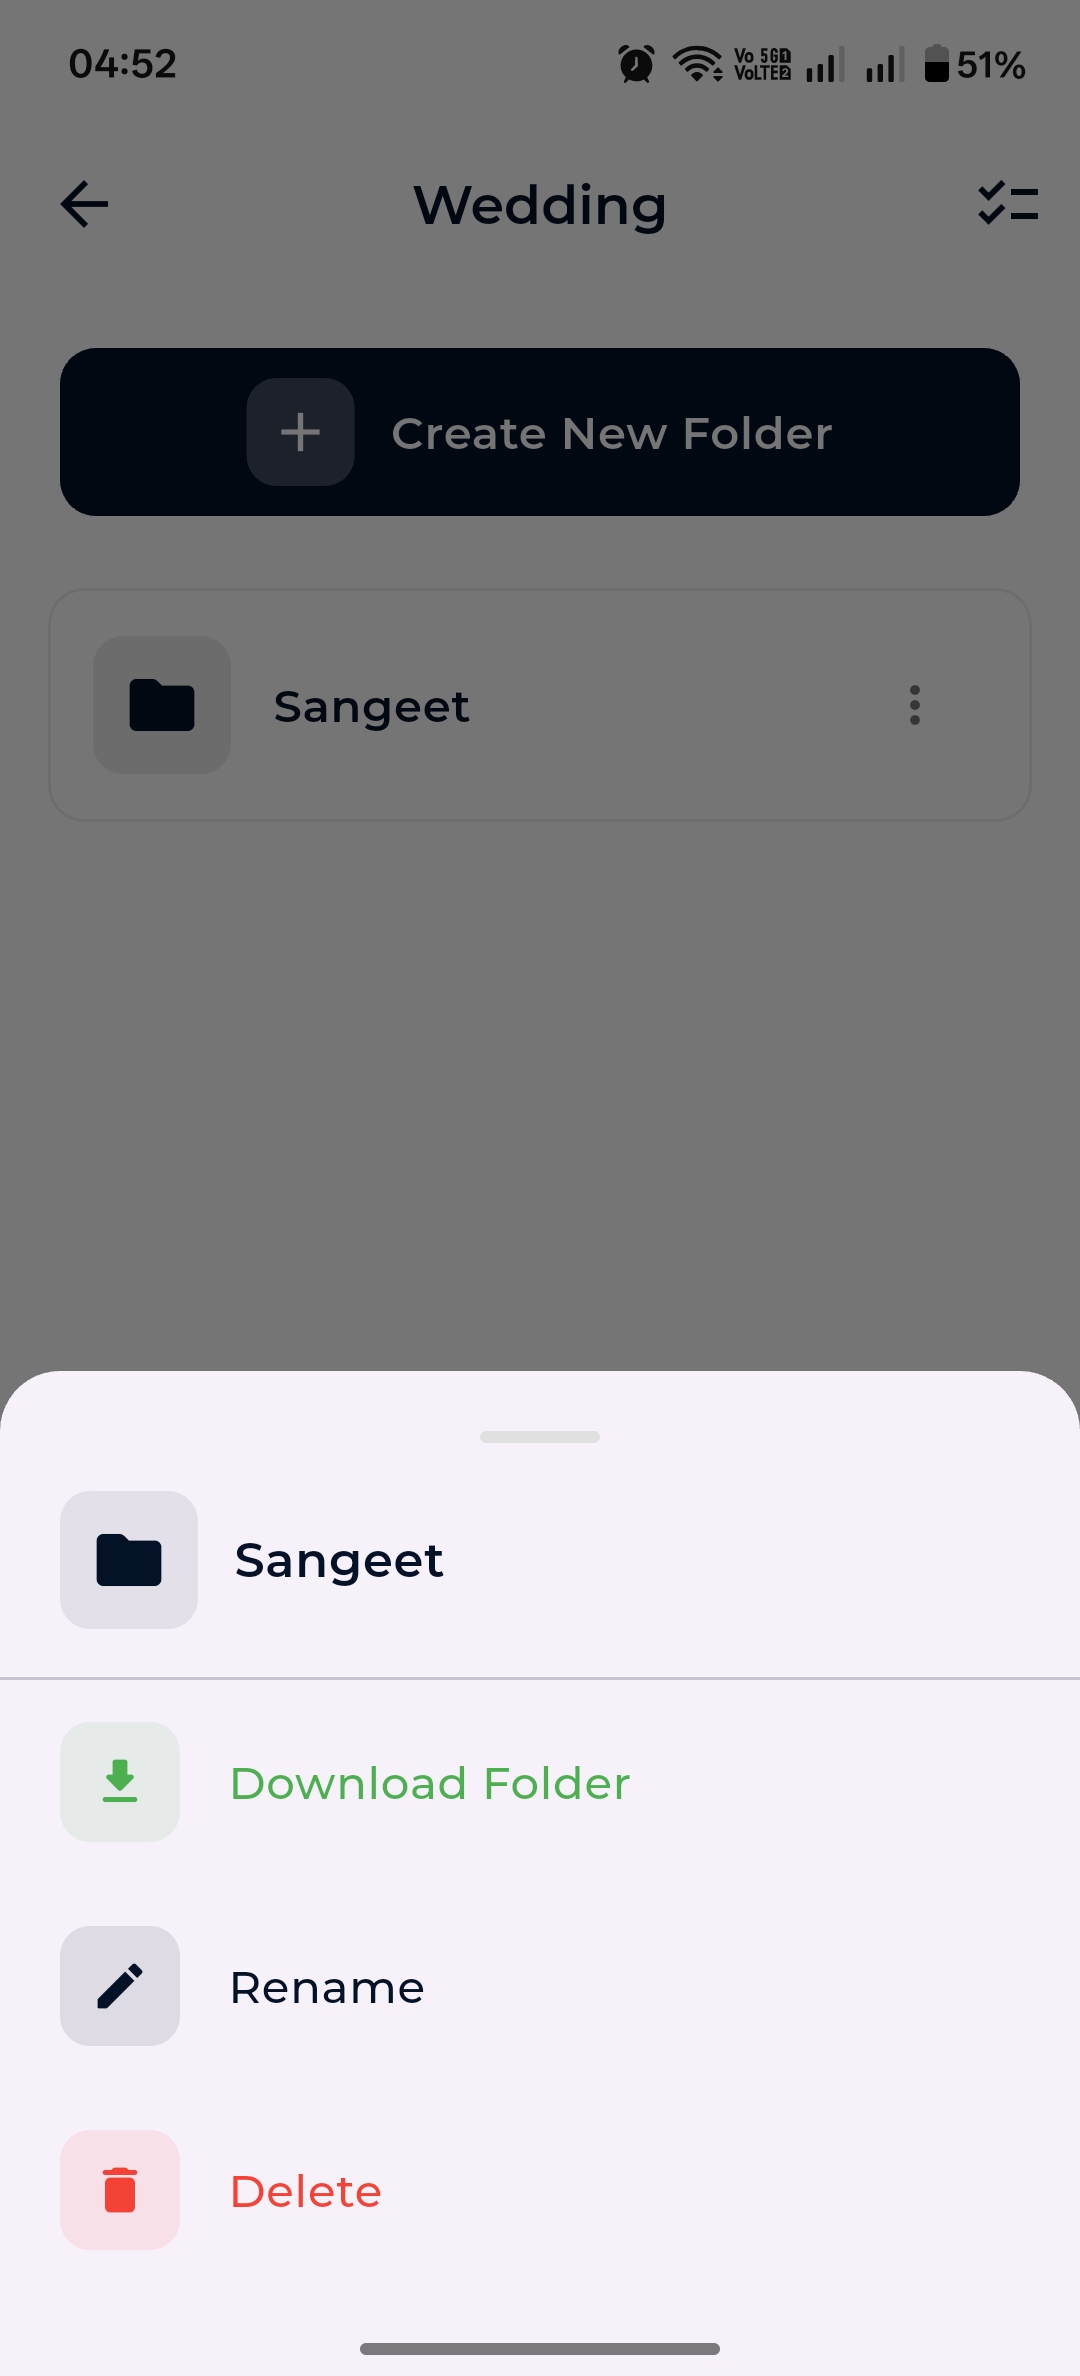
Folder action sheet: Download, Rename, Delete
Upload & capture
Inside a folder, tap + to bring up the upload sheet. Five options: Camera, Gallery, File, Video and Record.
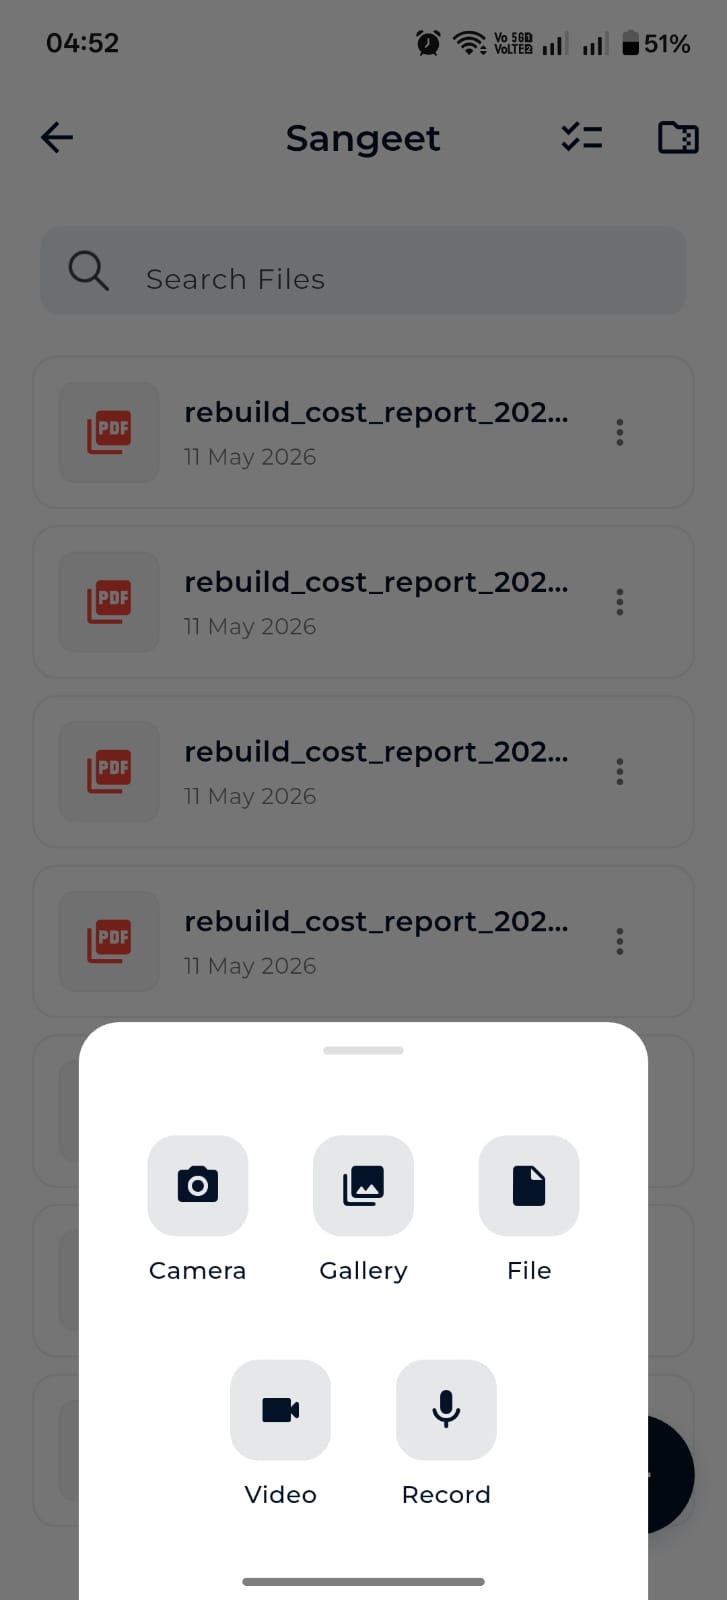
Upload bottom sheet

Empty folder prompts you to add a file
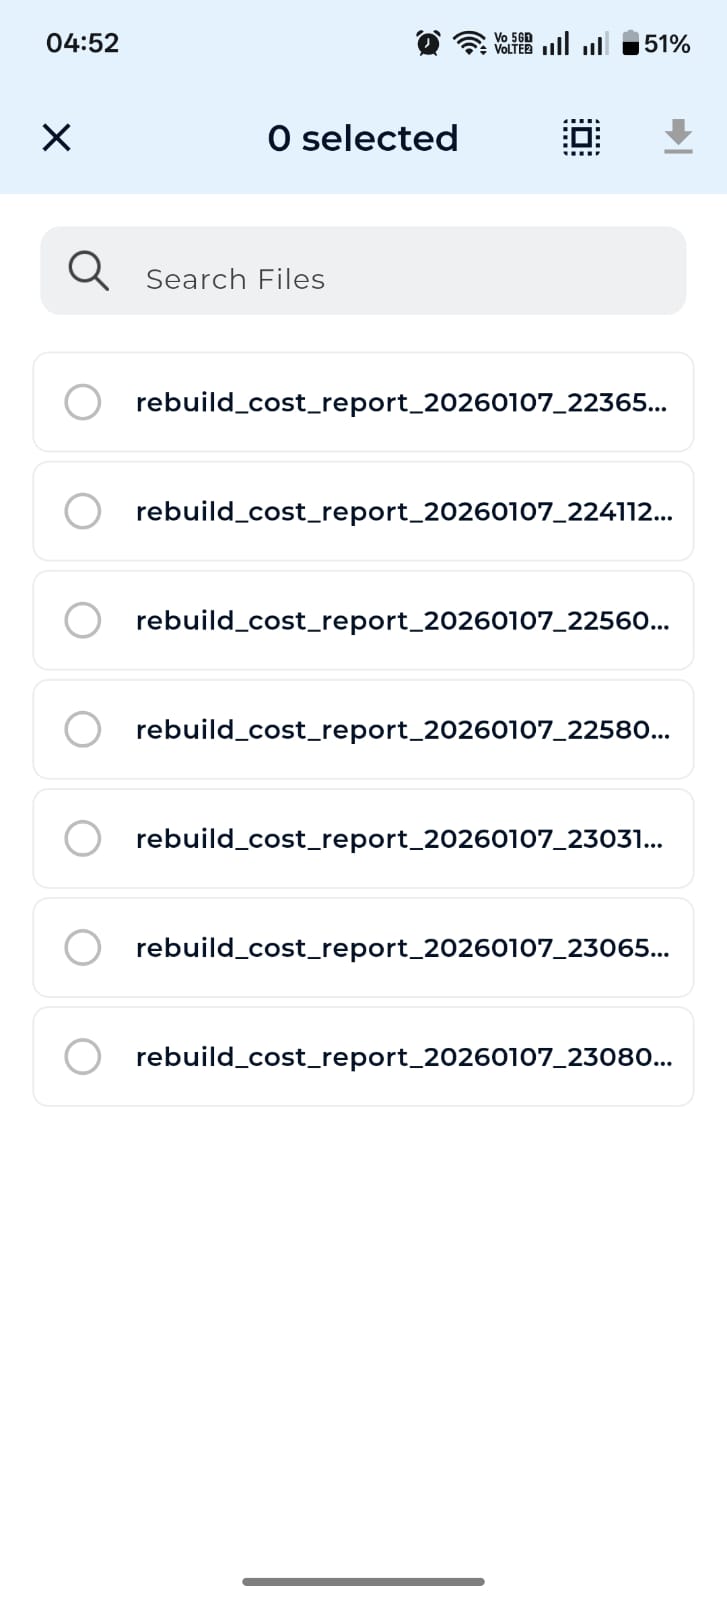
Multi-select & bulk download
Audio recording & transcripts
Pick Record from the upload sheet. Dazo starts recording automatically, shows the elapsed time, and lets you pause or stop.
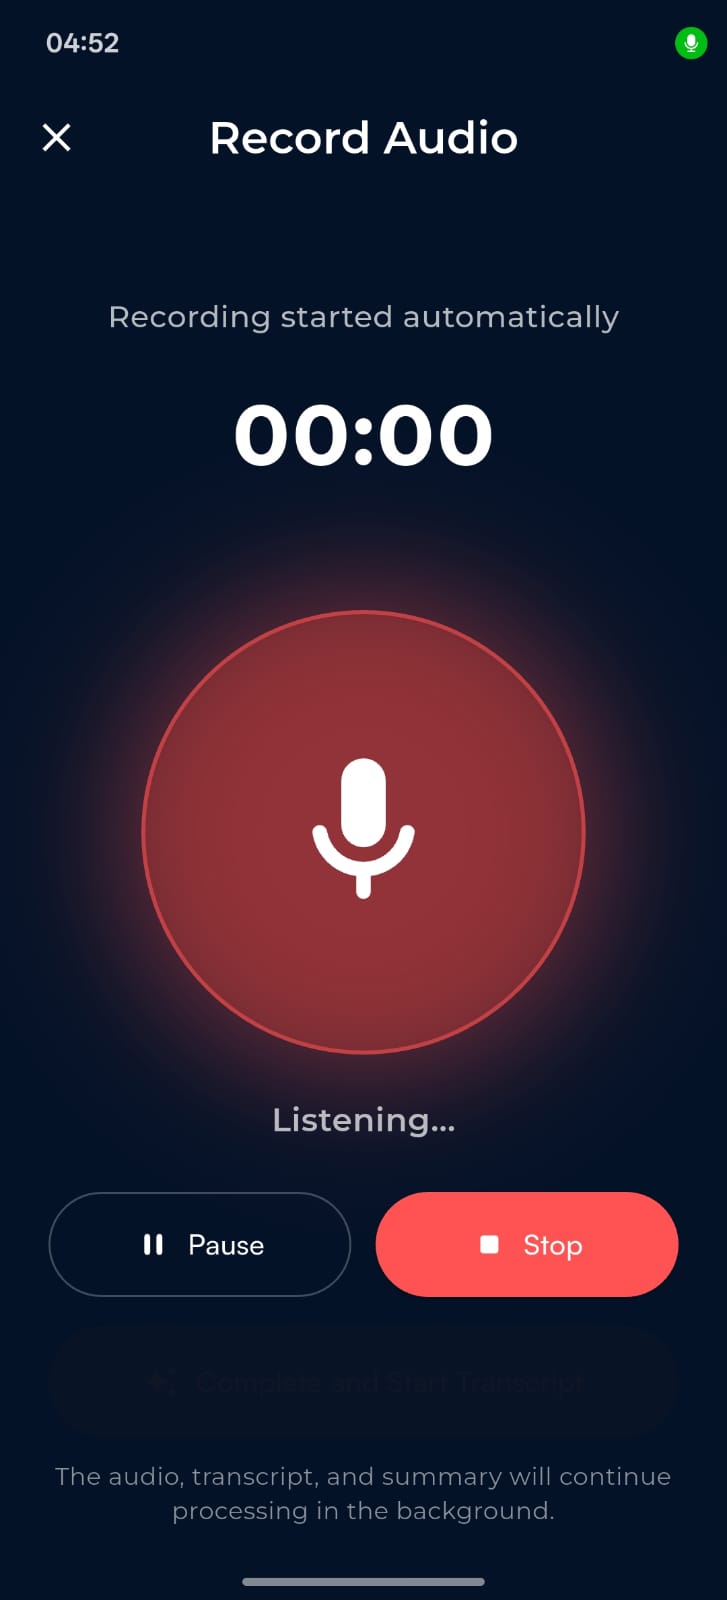
Record Audio screen with Pause / Stop
- Tap Stop when you’re done — the audio uploads in the background.
- Dazo processes a transcript and summary automatically.
- Open the audio file from the folder to play it back and read the transcript & summary alongside.
Preview, download & share
Tap any file to open the preview screen. Dazo supports image, PDF and audio previews inline. Use the action bar to:
- Download — saves to your Downloads folder; you can immediately share after download.
- Share — opens your OS share sheet.
- Open with — hand the file off to any installed app.
Offline mode
When the network drops, Dazo switches to cached views automatically. The cached patient list, folders and subfolder file lists remain browsable. A separate Offline Files area shows files you’ve explicitly downloaded.
Settings
Open the profile icon at the top right to land in Settings. From here you can edit your name, check storage usage, manage your subscription, sync to desktop, manage licenses, raise a support ticket, log out, or delete your account.
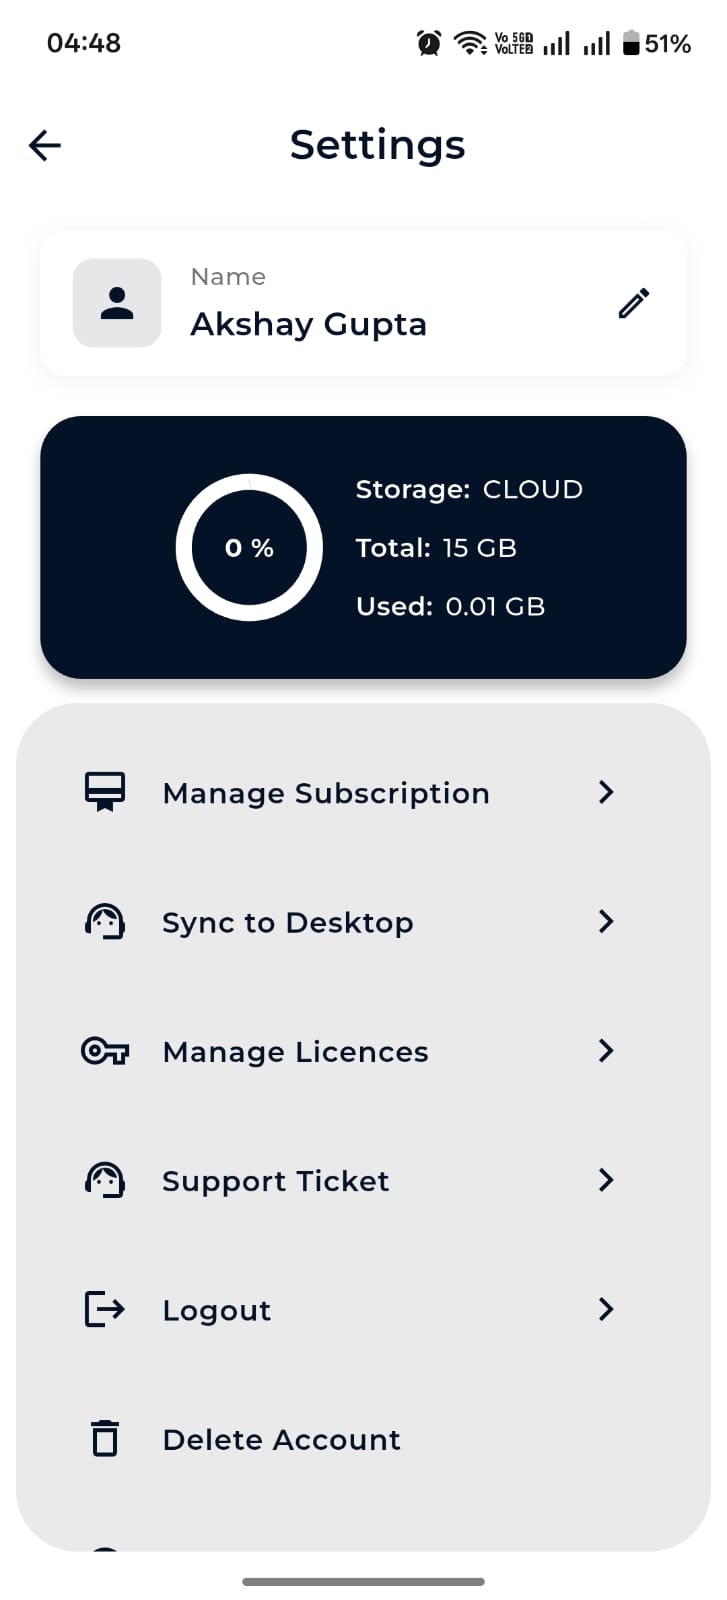
Mobile Settings
Manage Subscription with add-ons
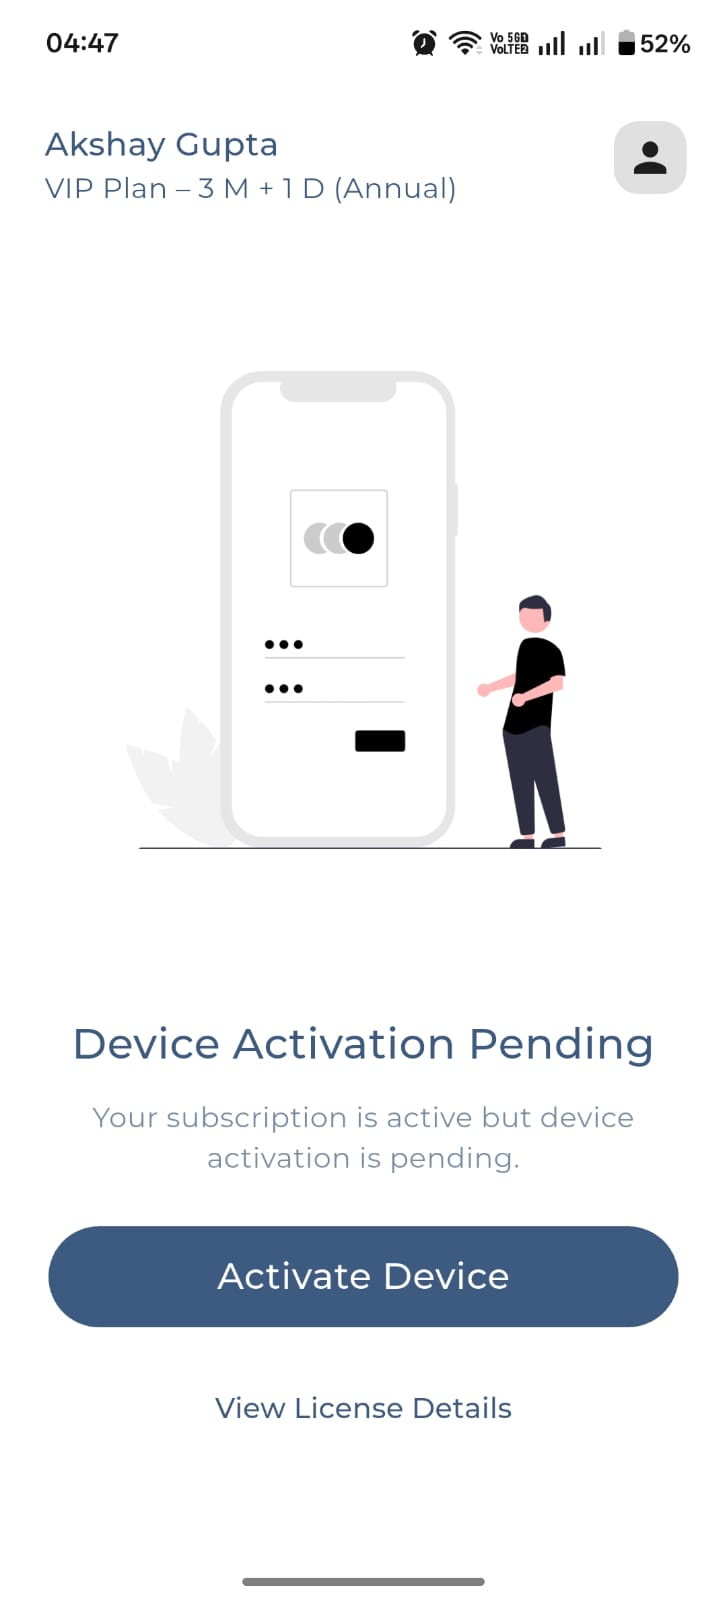
Device Activation Pending state
Desktop guide
Dazo for macOS and Windows mirrors mobile but spreads it across a bigger canvas. The left sidebar has three sections: Home, Cloud Sync, and Settings.
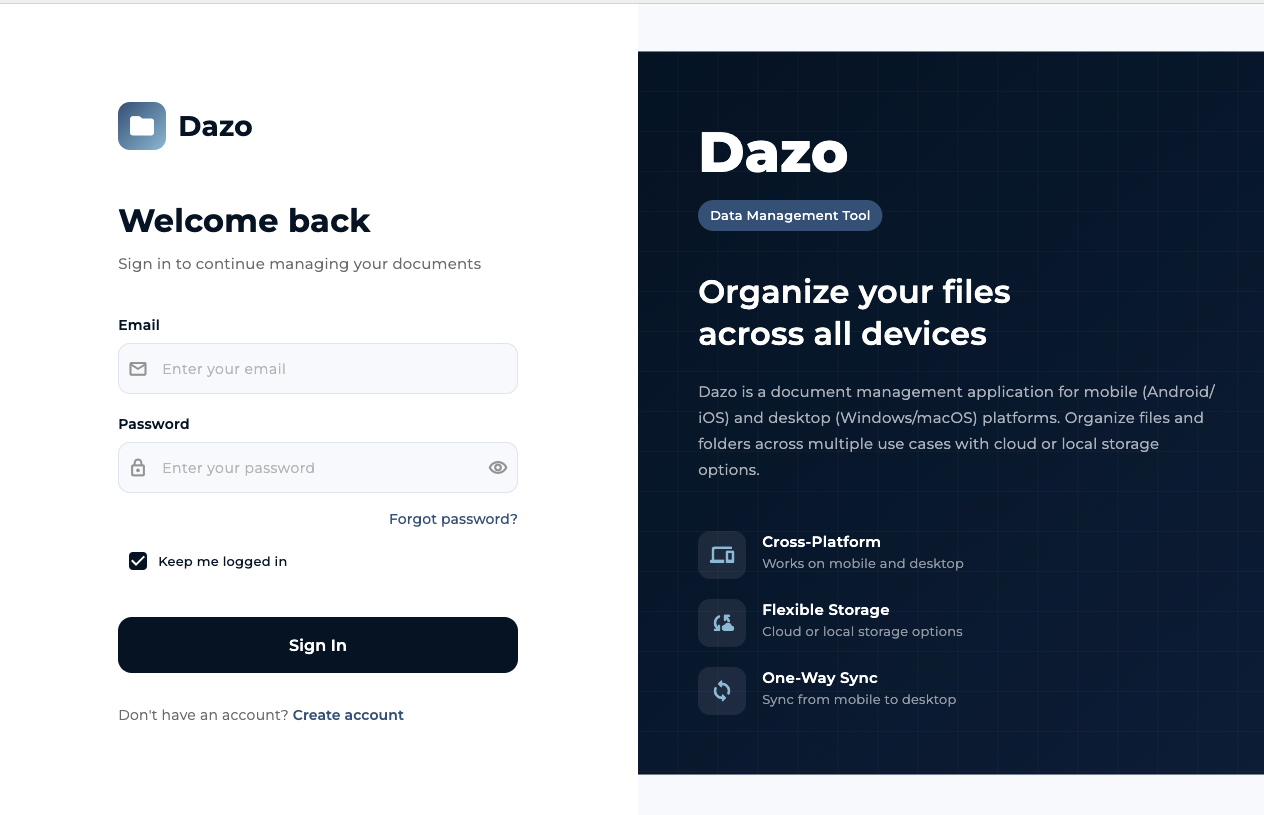
Sign in
Enter your Dazo email and password on the left panel. The right panel summarizes what makes Dazo Dazo: cross-platform, flexible storage, one-way sync.
Desktop sign-in screen
Home dashboard
Home shows every record as a card. The top strip shows your storage usage and an Online / Offline mode toggle. Use Add New in the top right to create a record, and use the use-case filter to narrow the grid.
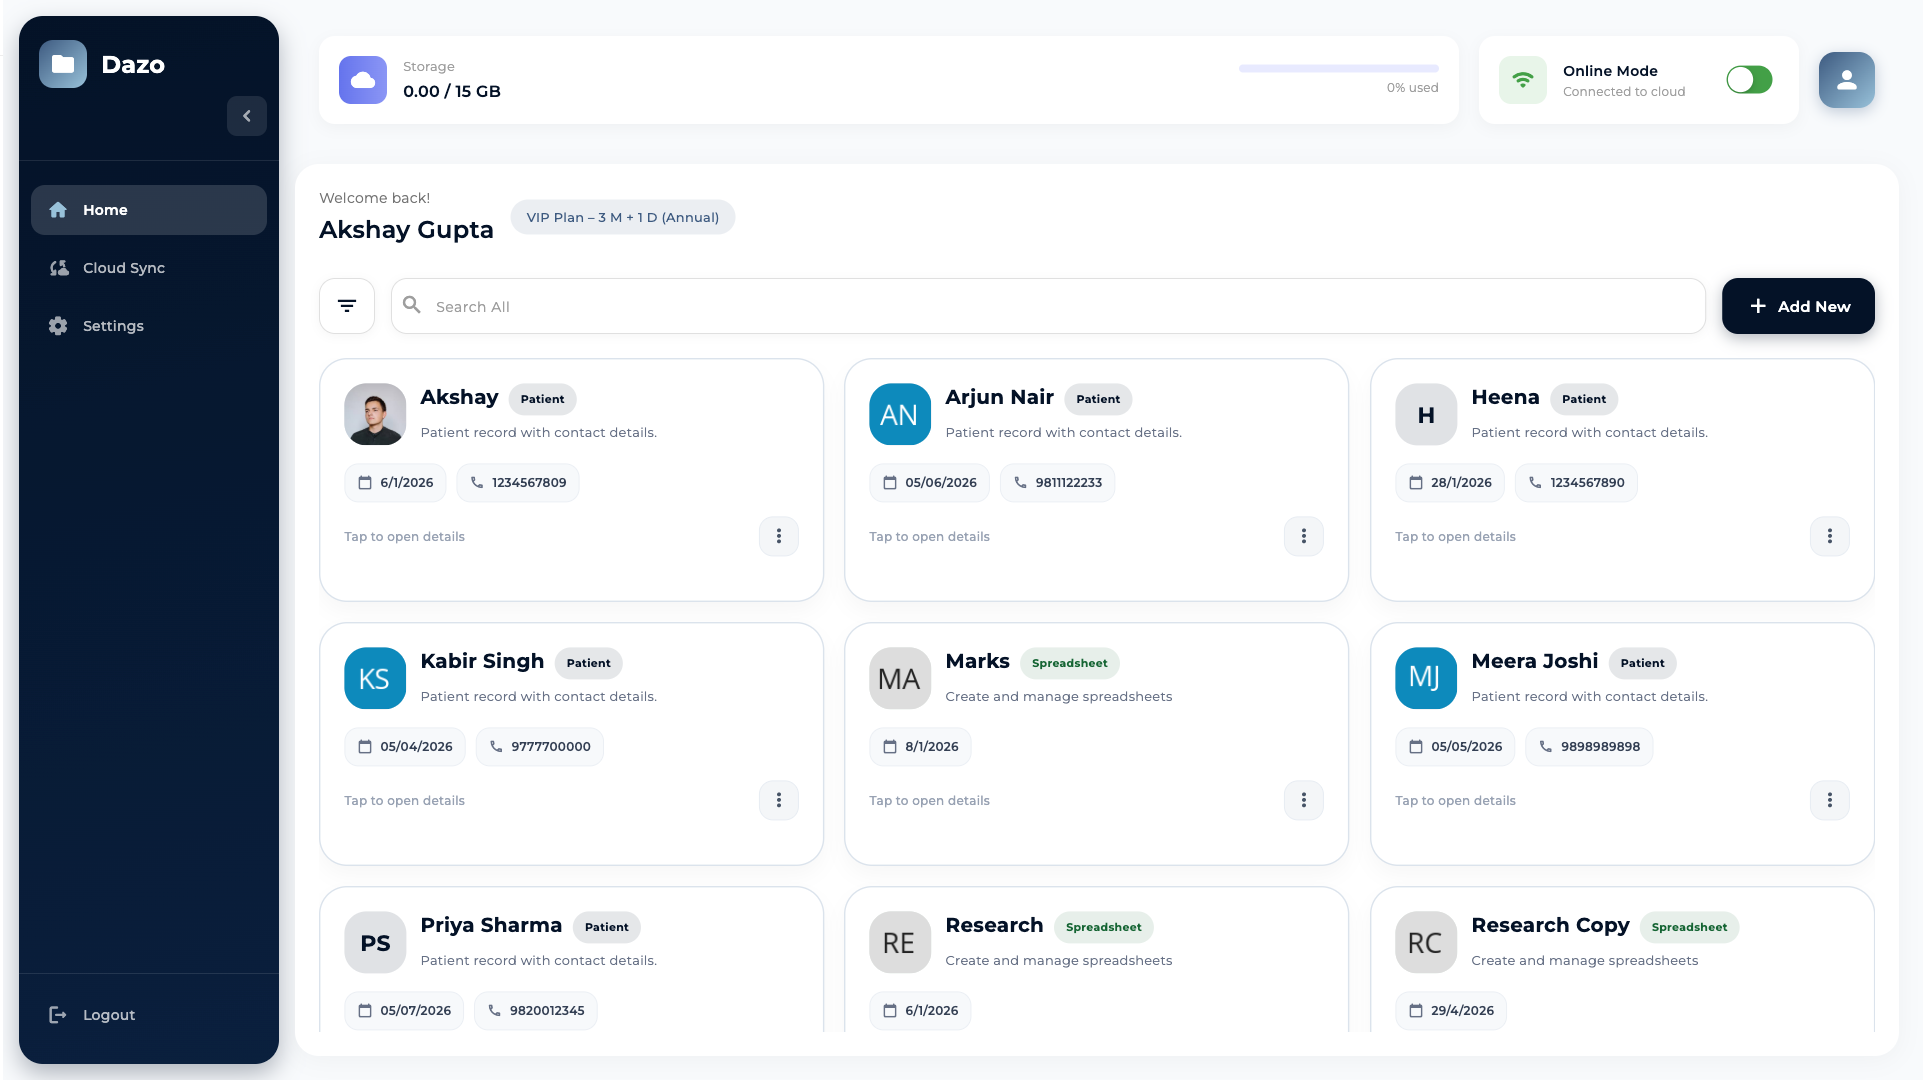
Desktop home dashboard
Create & edit records
Click Add New to open the Create New modal. The four cards — Patient, Event, Research, Spreadsheet — open dedicated add screens for that type.
Desktop Create New modal
Folders & files
Click a record card to open its folder list. From there you can create subfolders, rename, delete, search, multi-select and bulk download. Upload files using the file picker via the upload button.
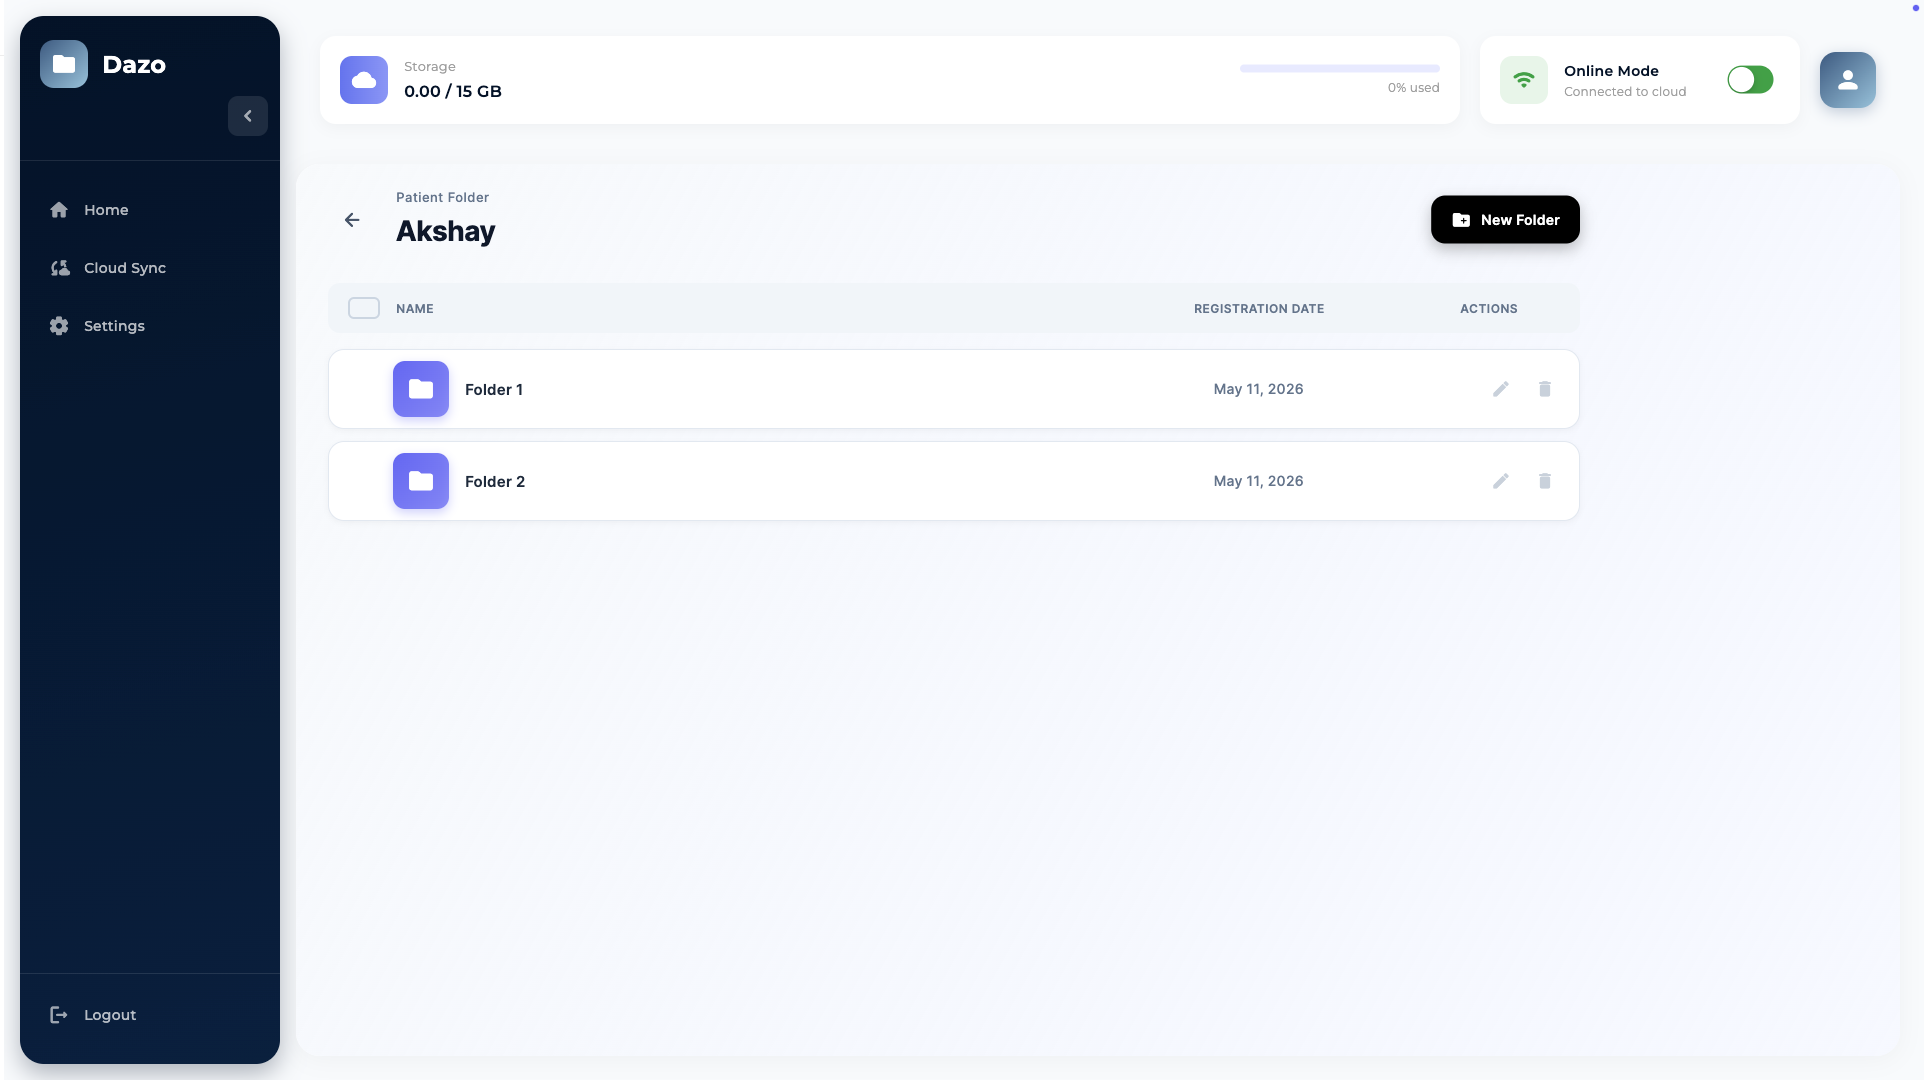
Patient folder with subfolders
Spreadsheets
Open a Spreadsheet record to enter the full grid editor. Right-click on row numbers or column headers for row/column options. Click image cells to add or view images.
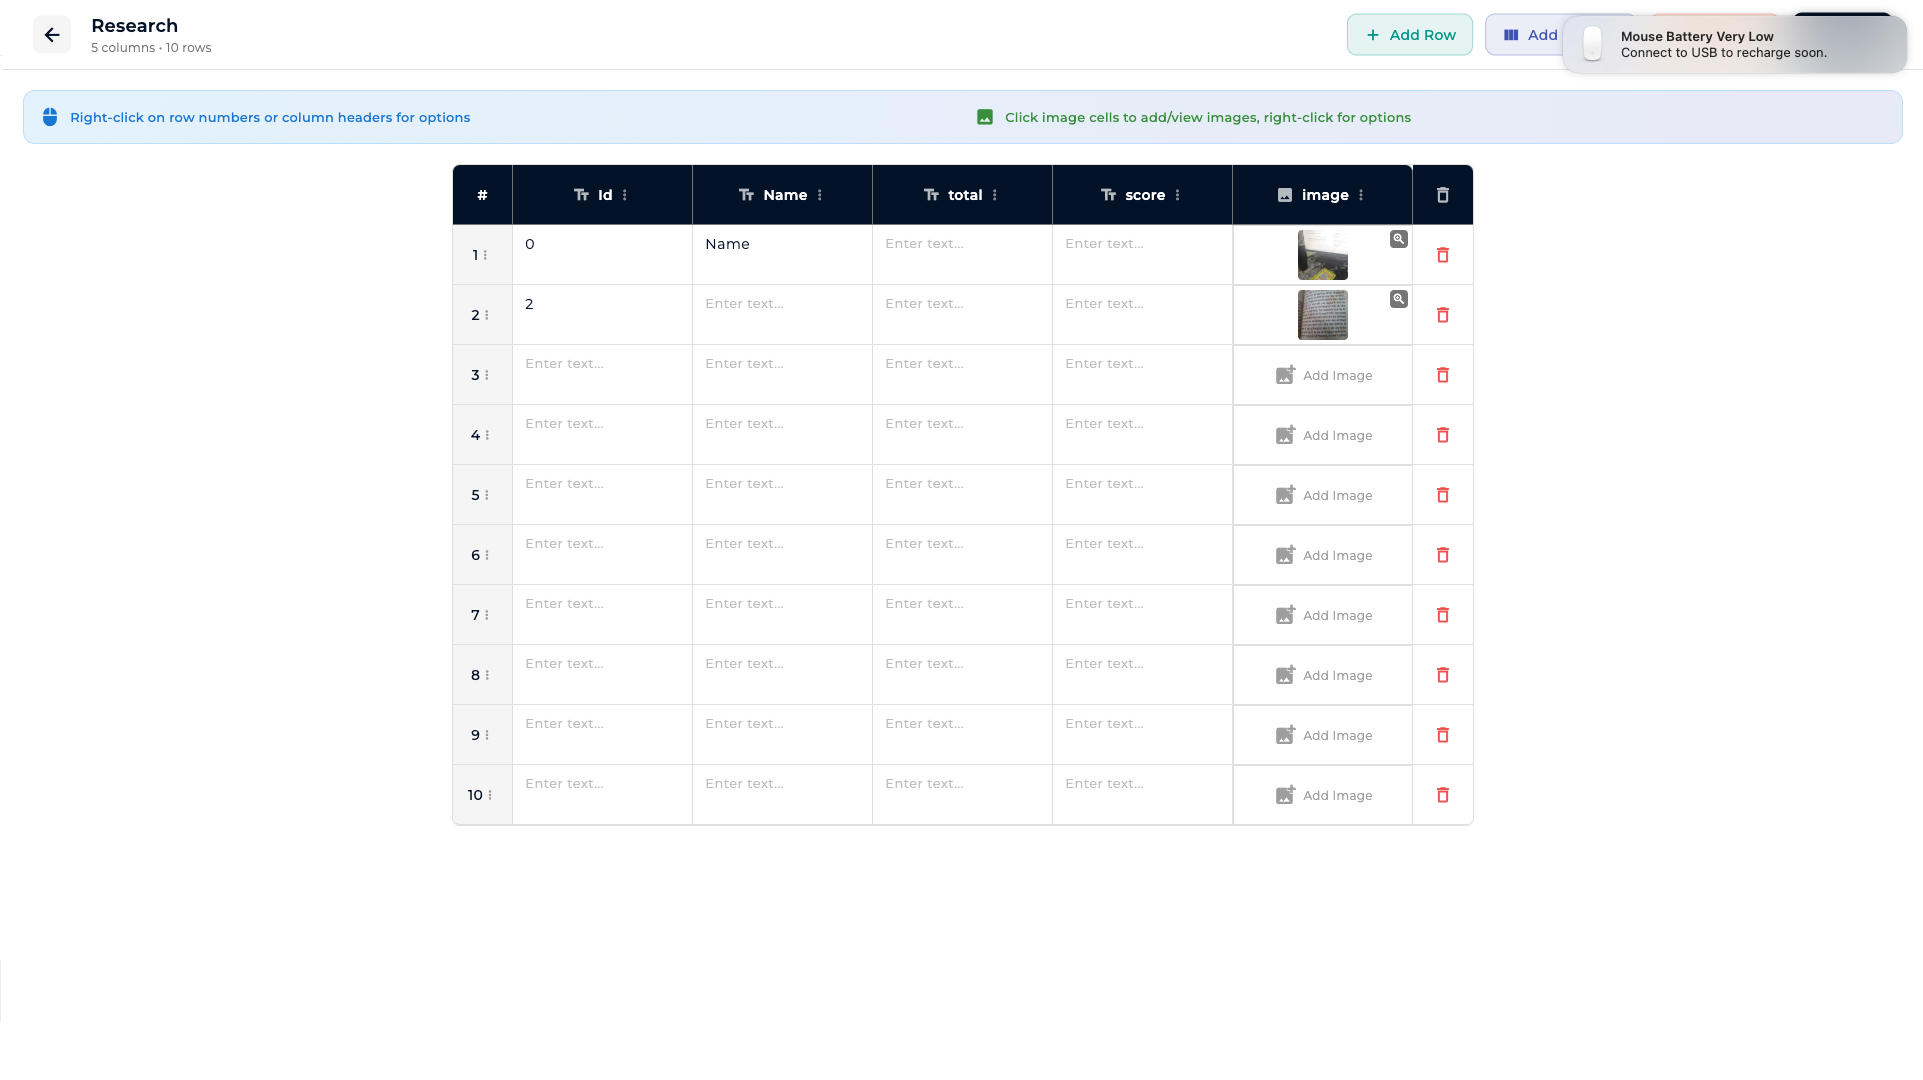
Spreadsheet editor with image cells
Settings
Settings shows your account details (email, doctor ID, platform), your current storage mode and sync folder, and a row of quick actions: Home, Manage Diseases, Logout, Delete Account.
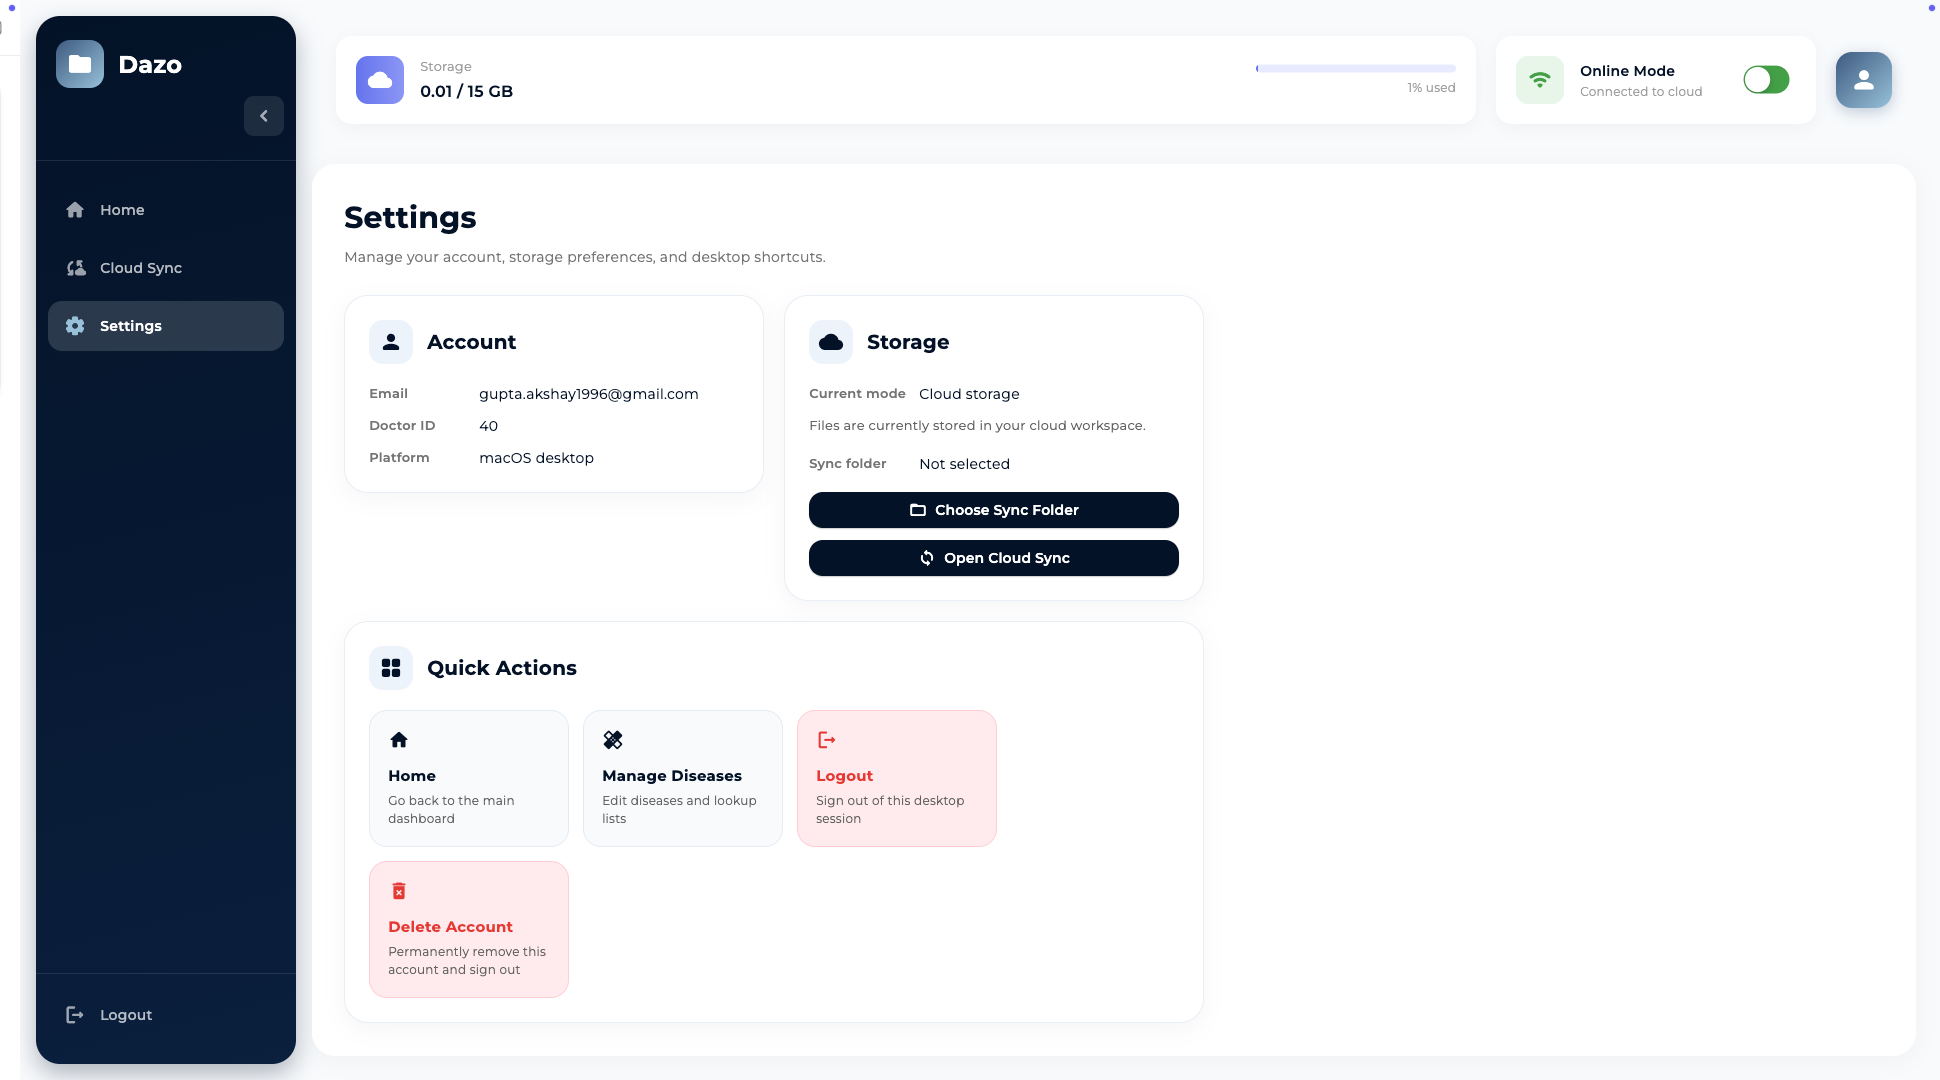
Desktop Settings
Sync Center
On desktop, the second sidebar item is Cloud Sync — this is the Sync Center. It offers two sync methods: Cloud Sync (from Firebase) and WiFi Sync (from a paired mobile device).
Cloud Sync (Firebase Storage → desktop)
Use Cloud Sync when your mobile app is set to Cloud Storage mode.
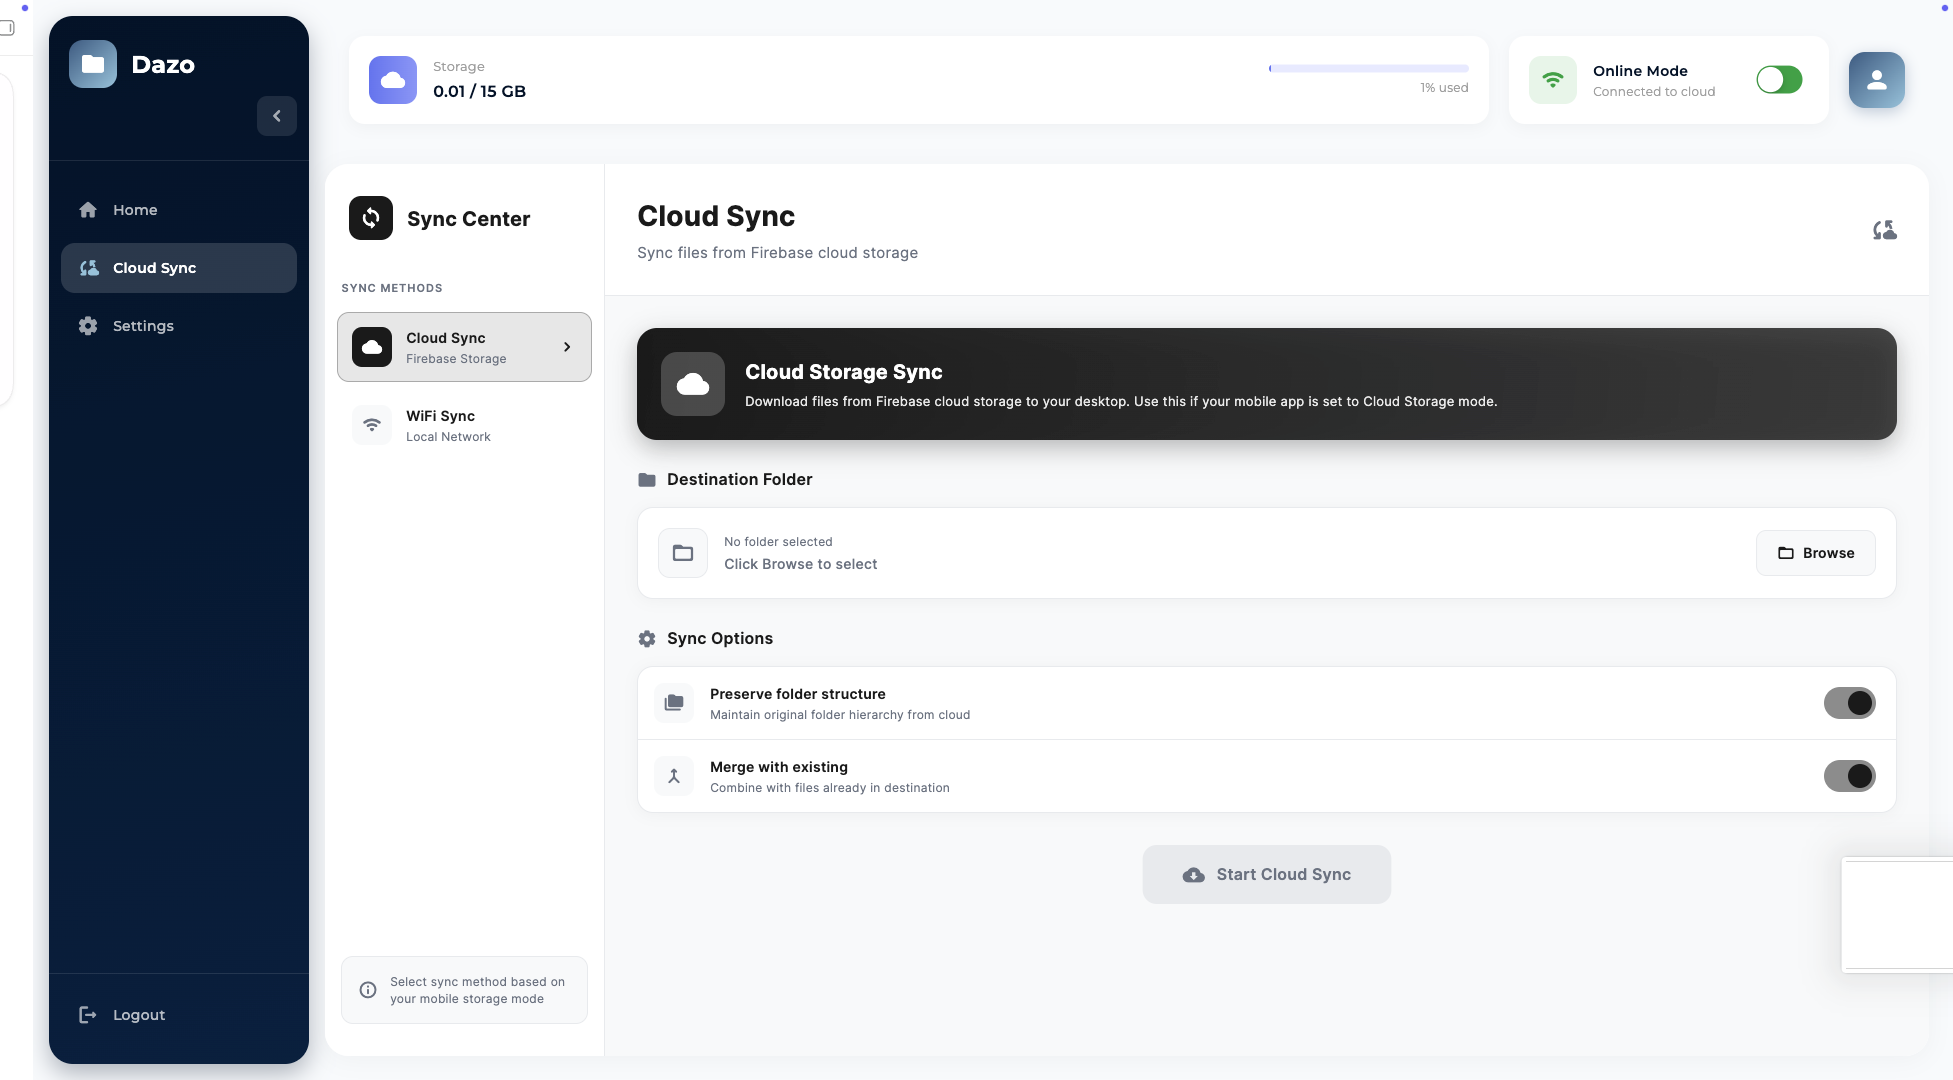
Cloud Sync screen
- Open Cloud Sync → Cloud Sync in the Sync Center.
- Click Browse next to Destination Folder and pick a local folder.
- Toggle Preserve folder structure to keep the cloud hierarchy.
- Toggle Merge with existing to combine with files already in the destination.
- Click Start Cloud Sync. The desktop tracks last-sync time when it completes.
WiFi Sync — same network
Use WiFi Sync to move data directly from your phone to your desktop, without using the cloud. Both devices need to be on the same WiFi network.
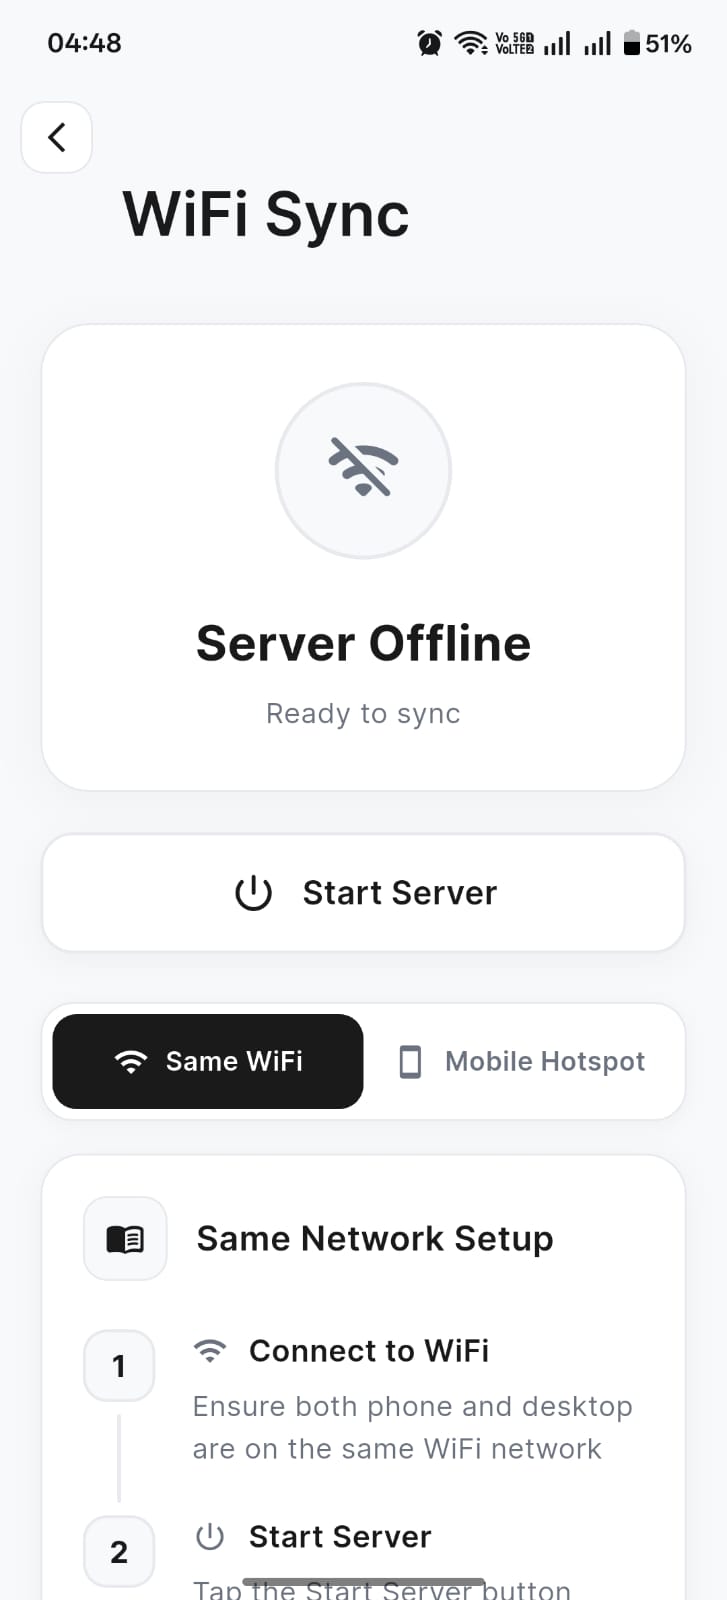
Mobile WiFi Sync — Start Server
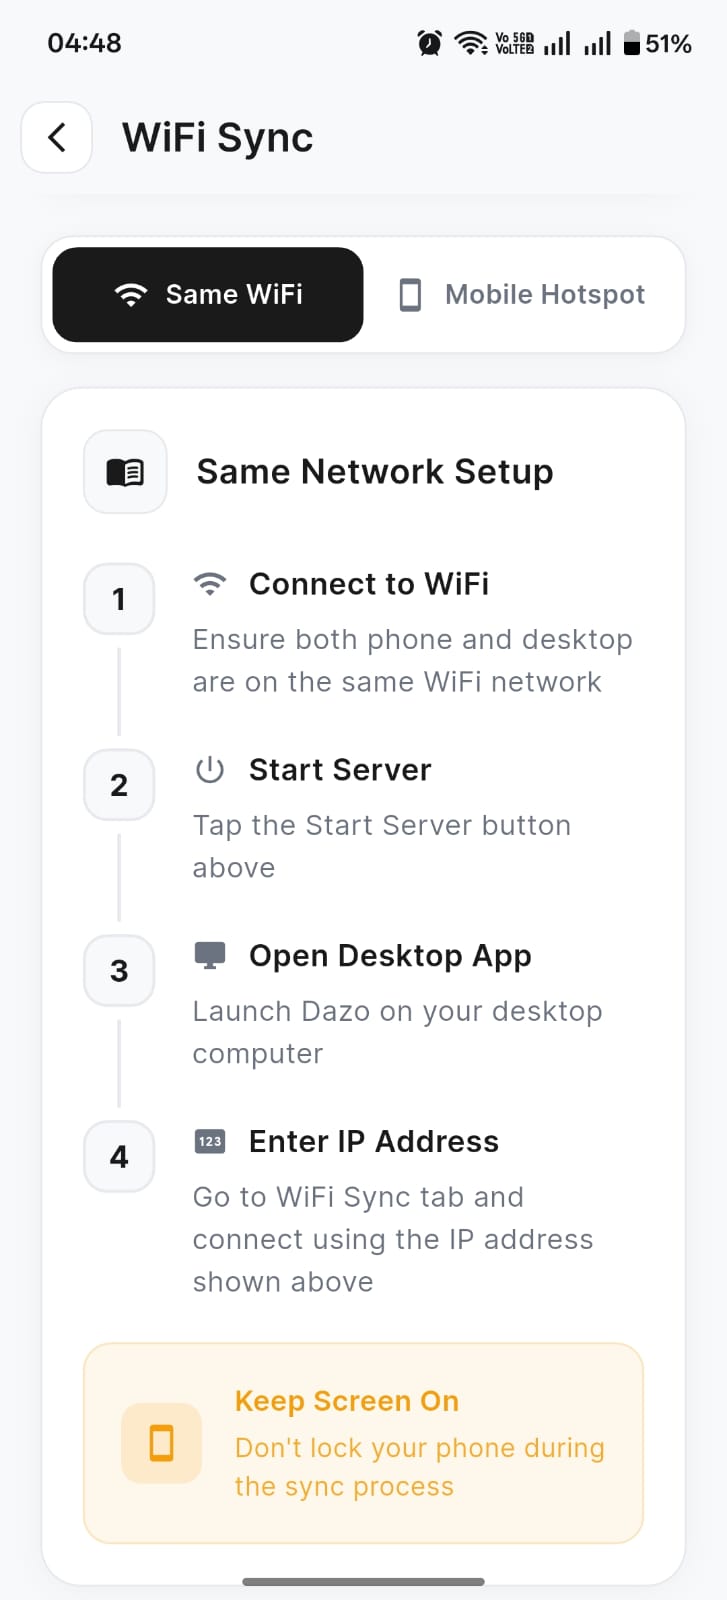
Mobile Same WiFi setup steps
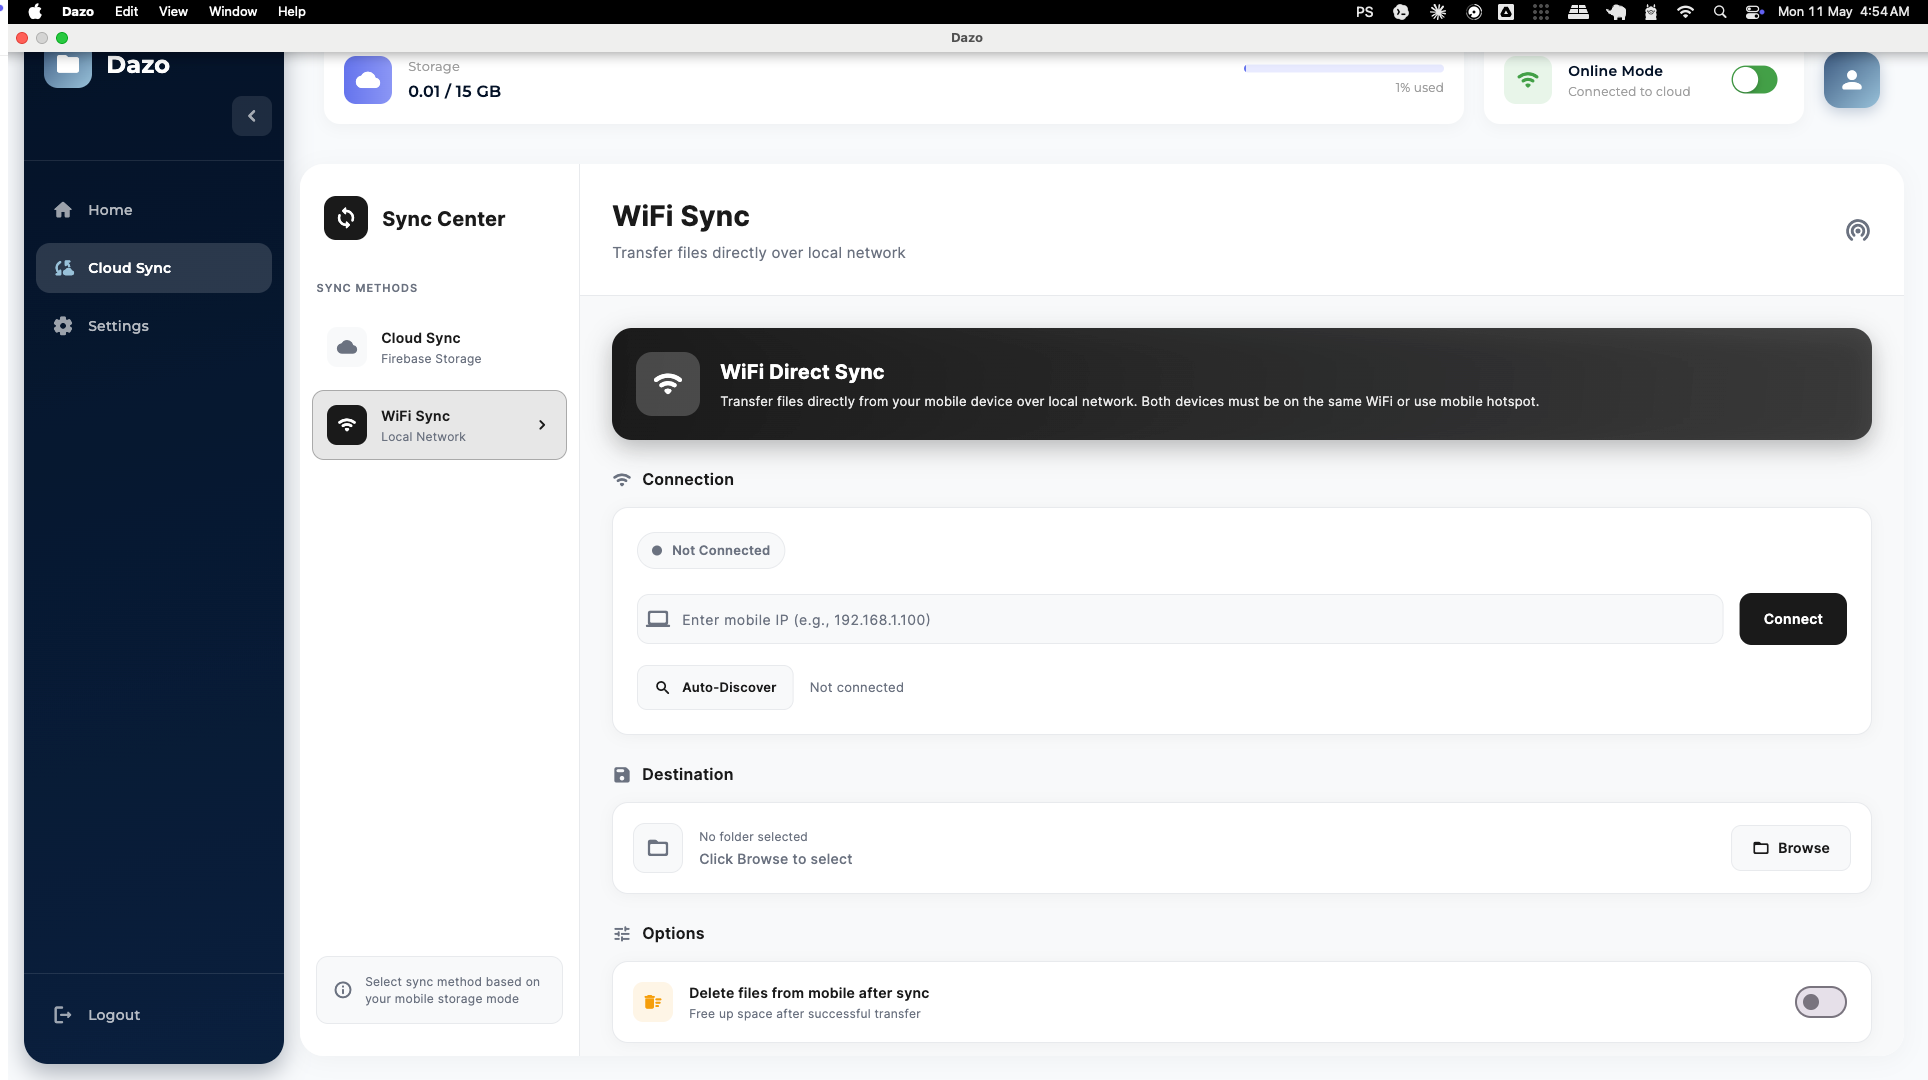
Desktop WiFi Sync
- On mobile, open Settings → Sync to Desktop → WiFi Sync.
- Make sure Same WiFi is selected. Tap Start Server.
- Note the IP address that appears.
- On desktop, go to Cloud Sync → WiFi Sync.
- Tap Auto-Discover or enter the IP manually and click Connect.
- Click Browse to select a destination folder.
- Pick the patients or full data set you want, optionally enable Delete files from mobile after sync, then start the sync.
WiFi Sync — mobile hotspot
If you can’t put both devices on the same WiFi, run a mobile hotspot from your phone and have the desktop connect to it.
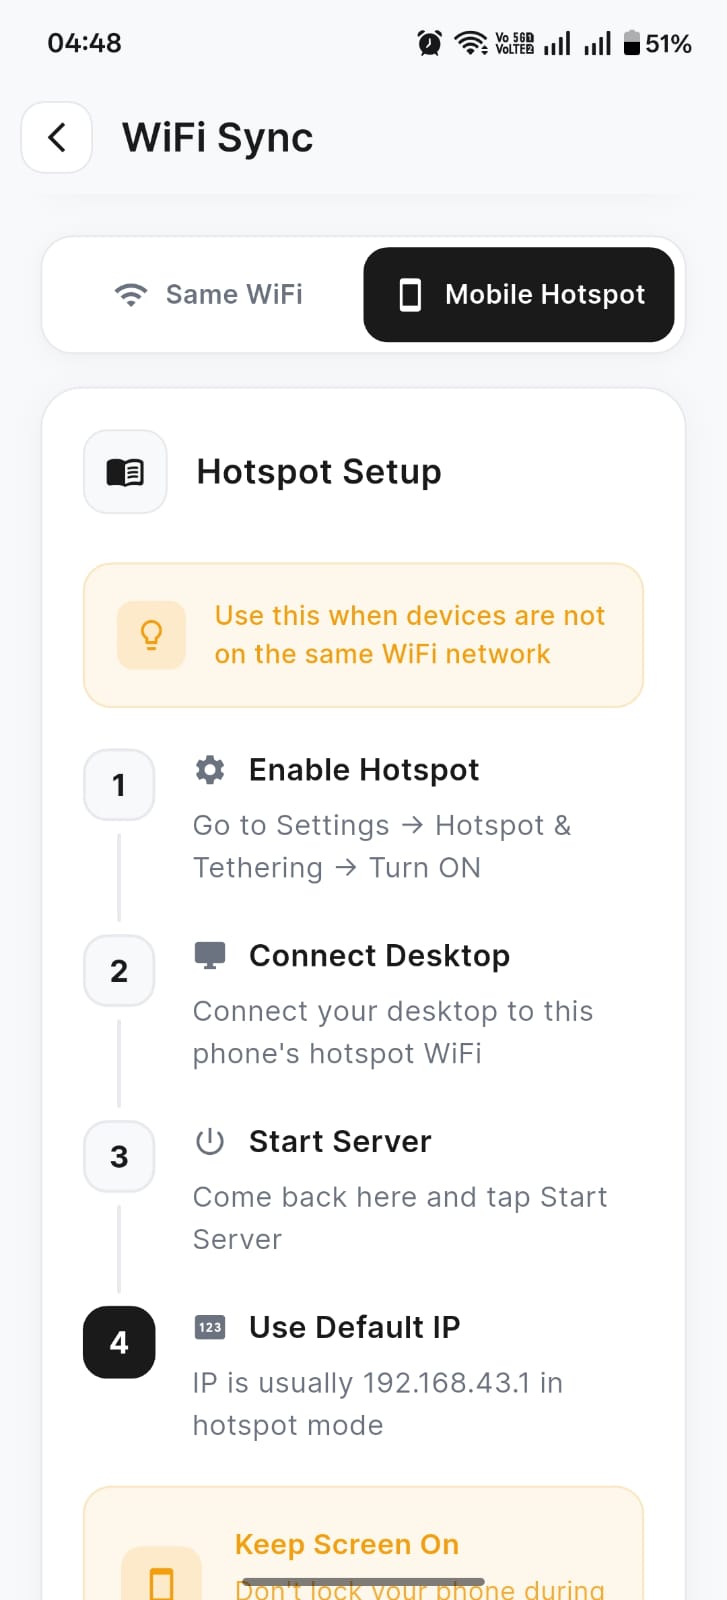
Mobile Hotspot setup steps
- Enable Hotspot & Tethering on your phone (Settings → Hotspot & Tethering → Turn ON).
- Connect your desktop to that hotspot WiFi.
- In Dazo, open WiFi Sync & switch to Mobile Hotspot.
- Tap Start Server.
- On desktop, use the default hotspot IP (usually 192.168.43.1) to connect.
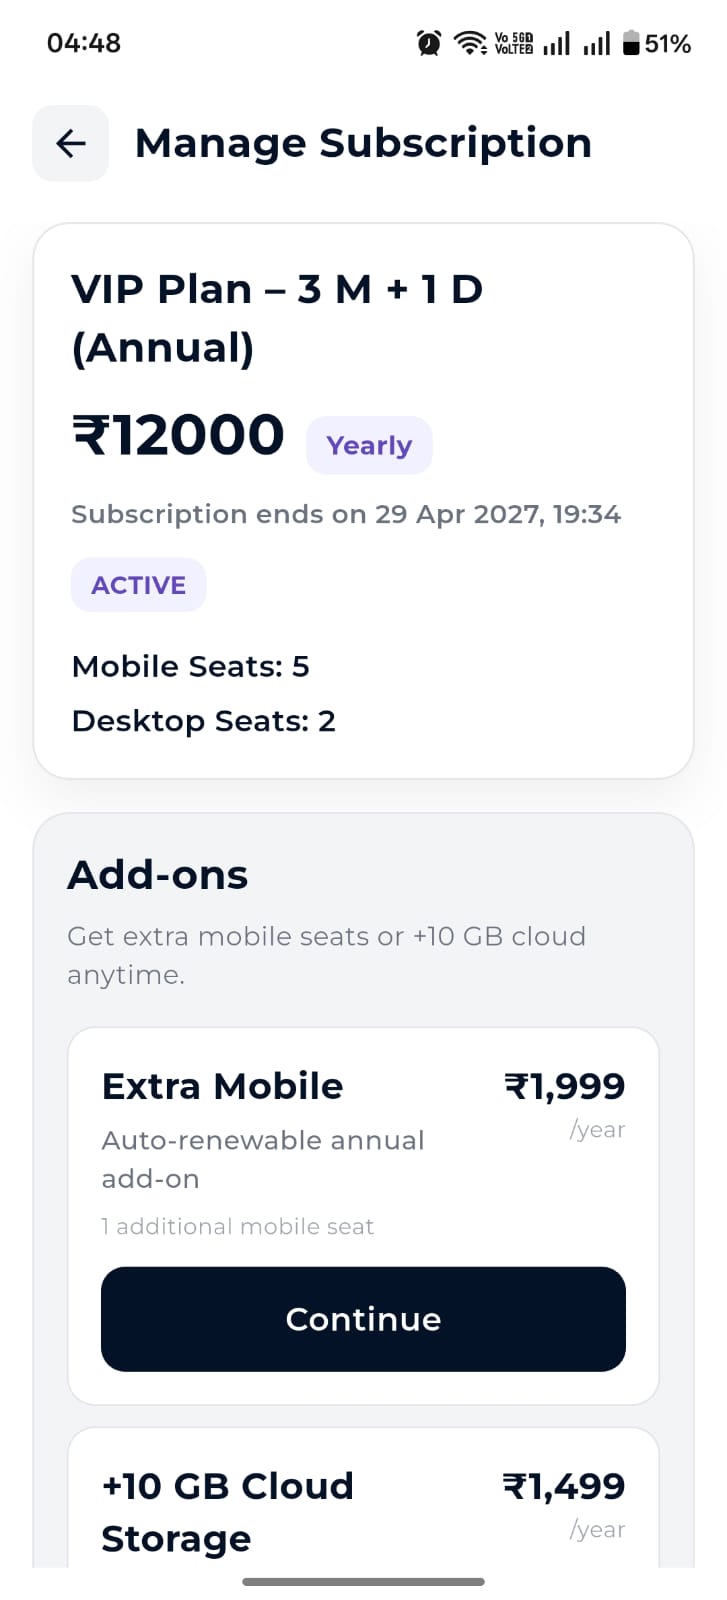
Manage subscription
Subscriptions are managed in the mobile app under Settings → Manage Subscription. You can see your current plan, end date, seat counts and available add-ons.
Manage Subscription
- Extra Mobile — auto-renewable add-on, ₹1,999/year per additional seat.
- +10 GB Cloud Storage — auto-renewable add-on, ₹1,499/year per 10 GB block.
Desktop licenses
For Windows desktops with limited connectivity, Dazo offers offline license keys. Manage them from Settings → Manage Licenses on mobile.
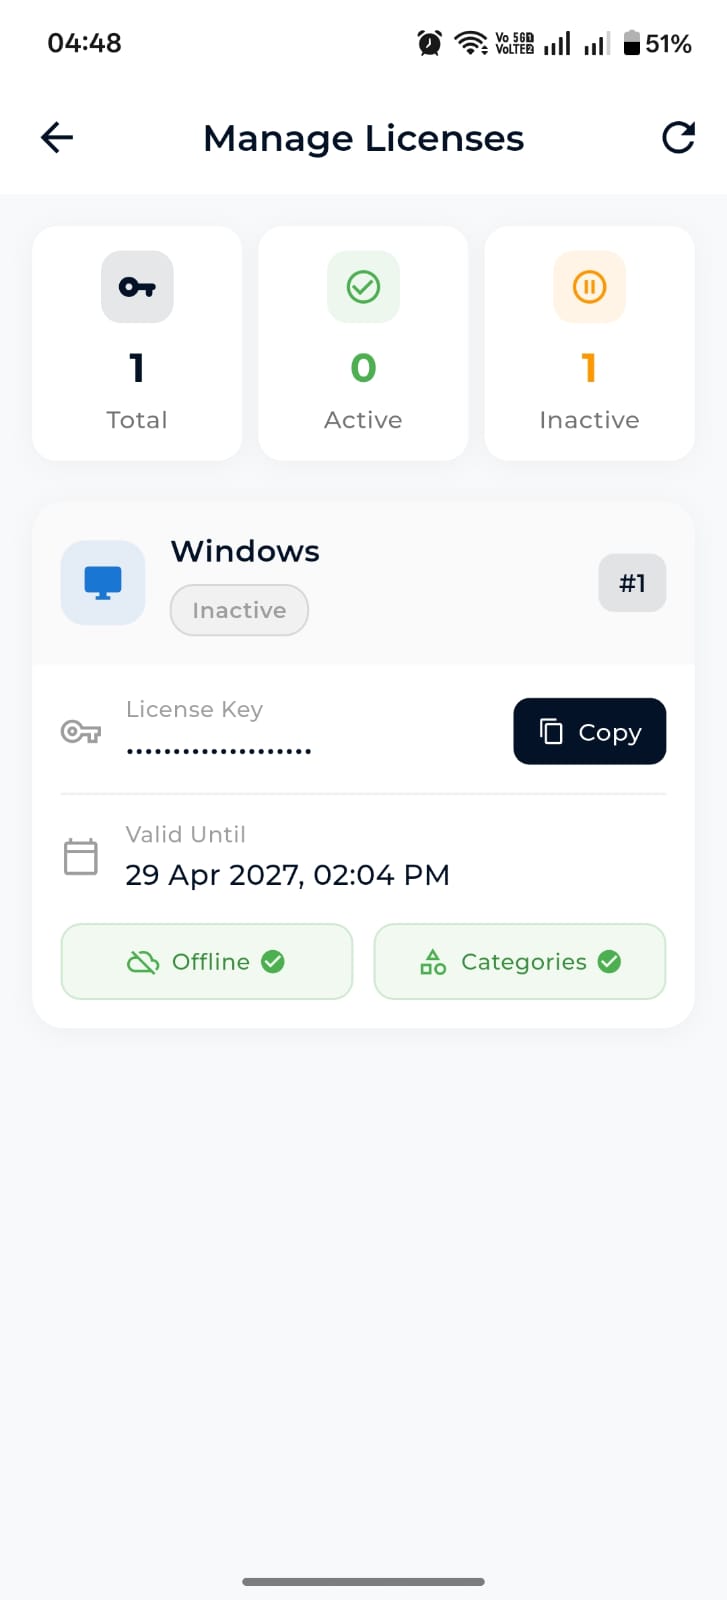
Manage Licenses with Active / Inactive counts
Device Activation Pending state
- Open Manage Licenses to see Total / Active / Inactive counts.
- Copy a license key with Copy.
- Paste it into the desktop activation flow when prompted.
Support tickets
Open Settings → Support Ticket from mobile to raise an issue or feature request. You can view ticket history and reply to responses inside the app.